

Create a flow
Build your first multichannel flow in hubsell: triggers, branches, LinkedIn and email steps, wait times, sending limits, and launch.
- Before you start
- Contacts in a hubsell list, and your mailbox and LinkedIn connected.
A flow is your automated outreach sequence. It defines which channels reach a contact, in what order, and under what conditions. This article builds a sample flow with a LinkedIn connection request, conditional branches, and follow-up steps by LinkedIn message and email.
Flows send 25 to 30 LinkedIn connection requests per day, combined across all your active flows. Plan your sequence and daily volumes with that ceiling in mind.
Create the flow
-
Click the Flows icon in the sidebar.
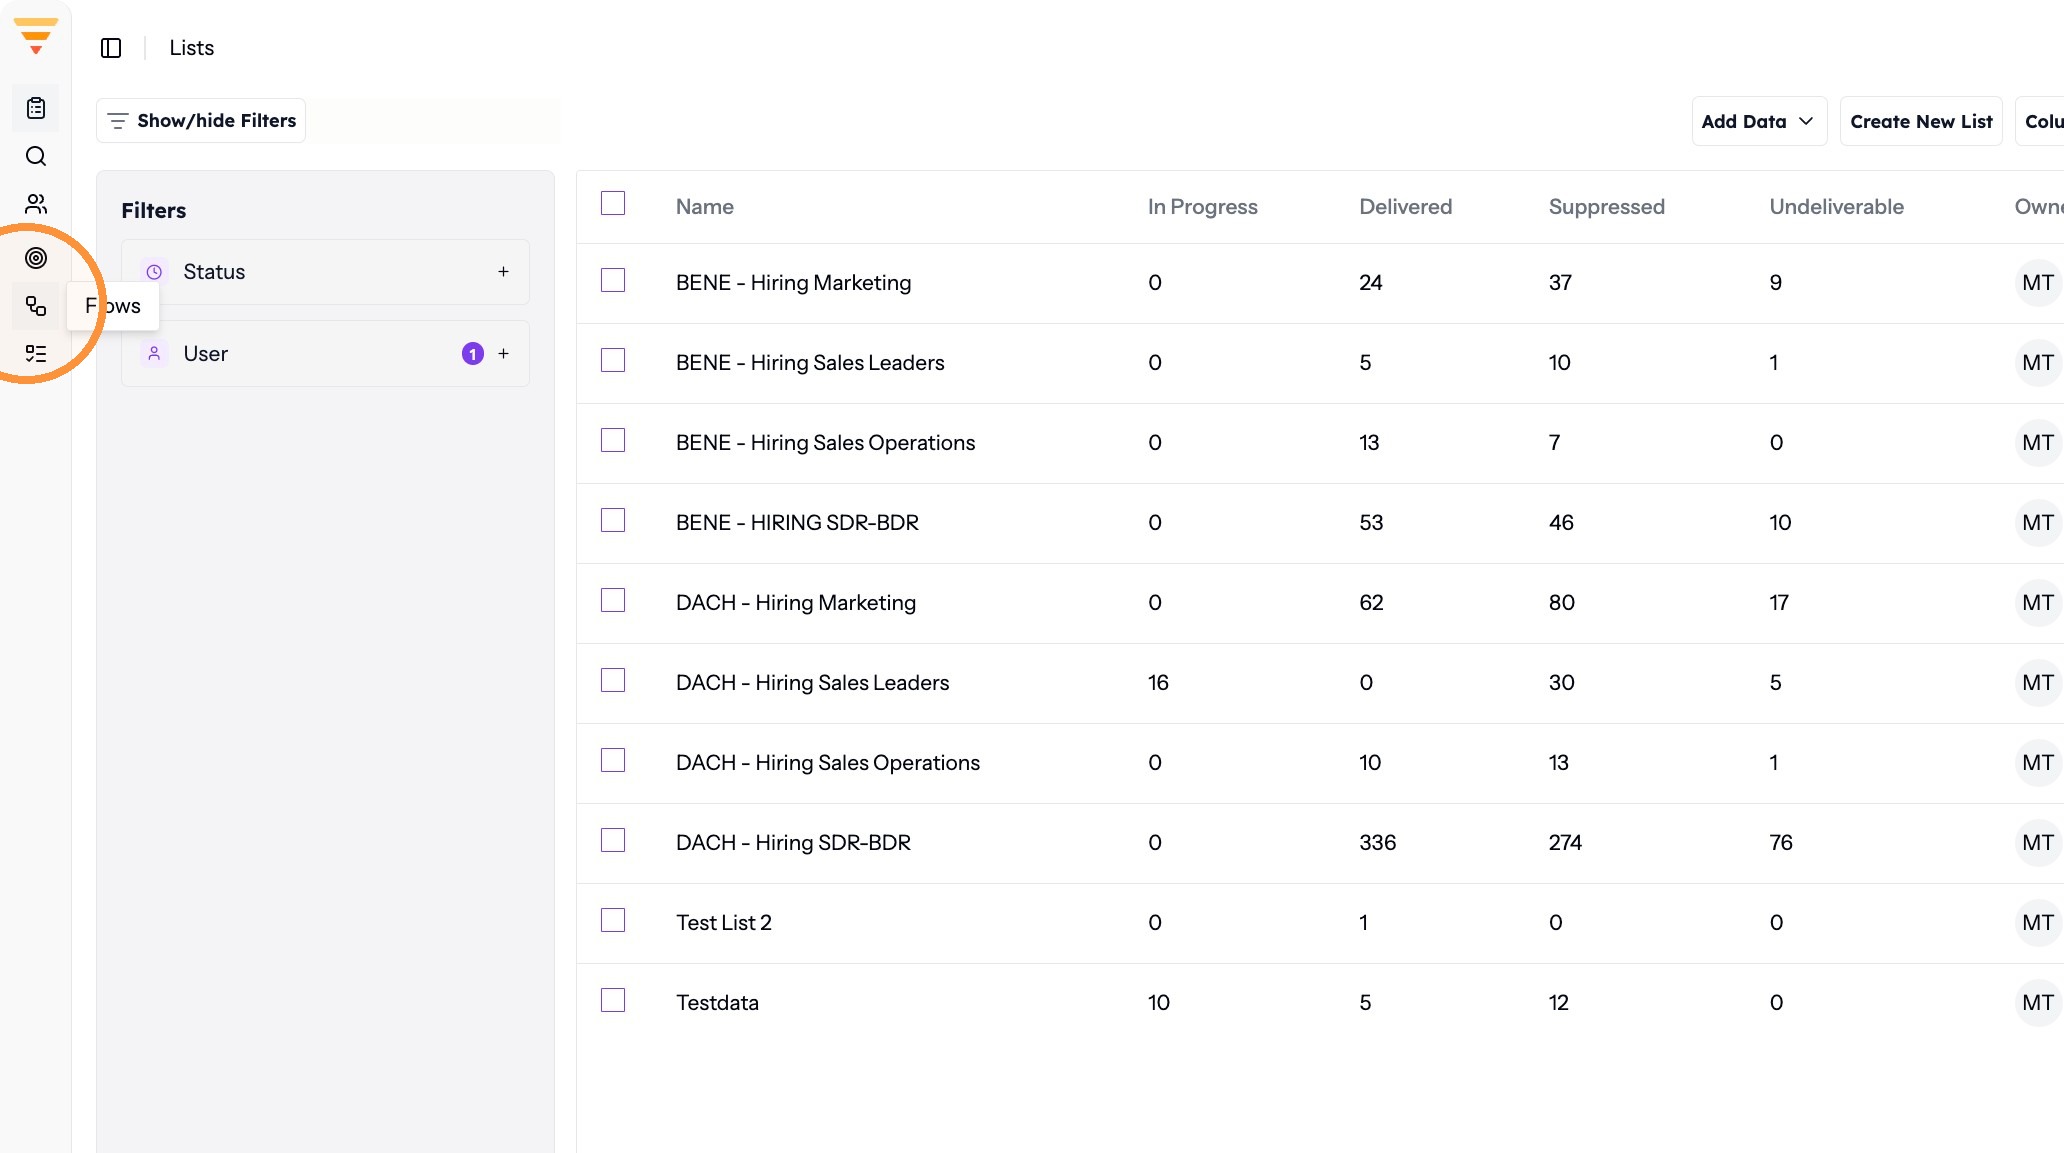
Opening Flows -
Click Create New Flow.
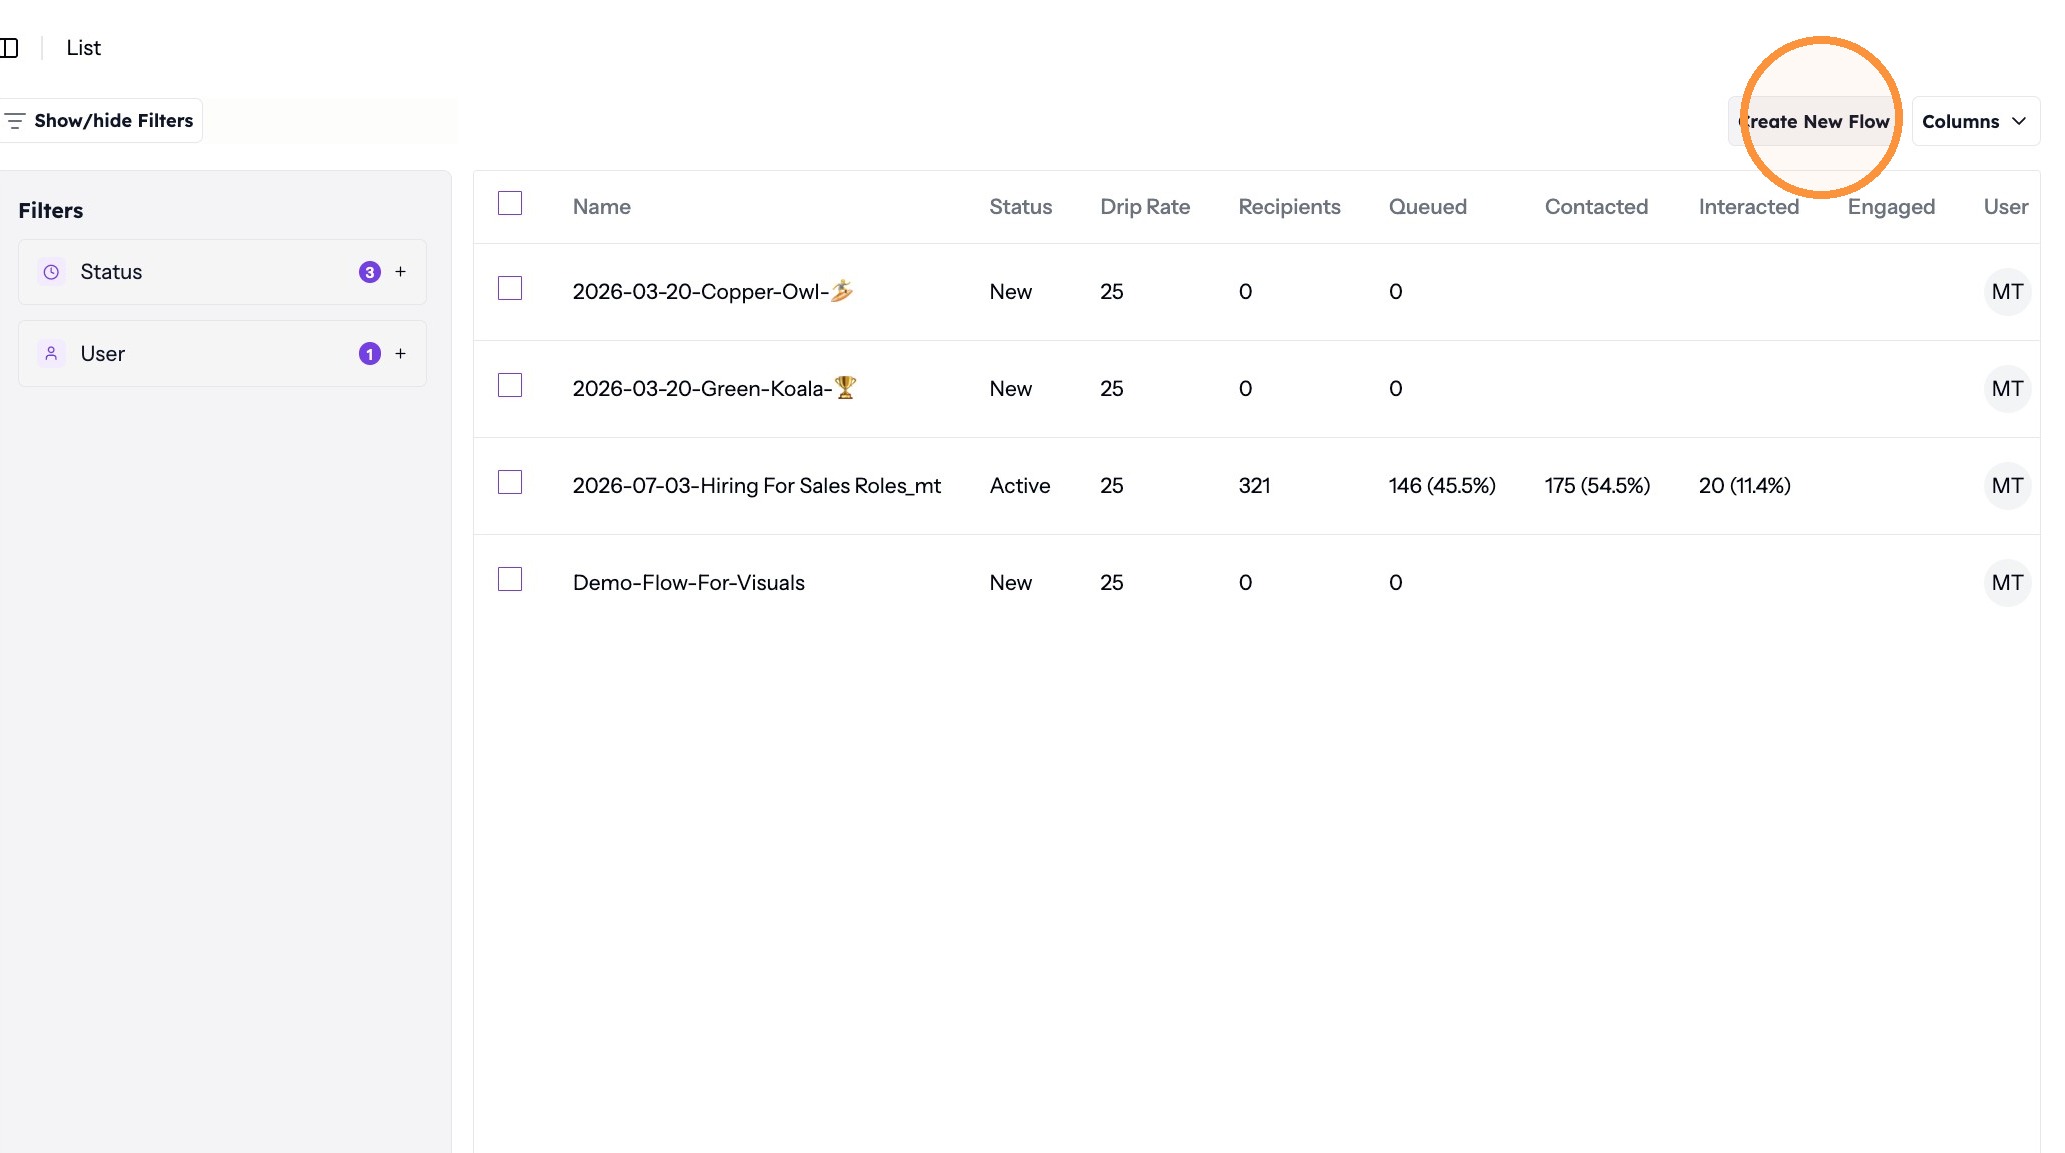
Creating a new flow -
Rename your flow as required.
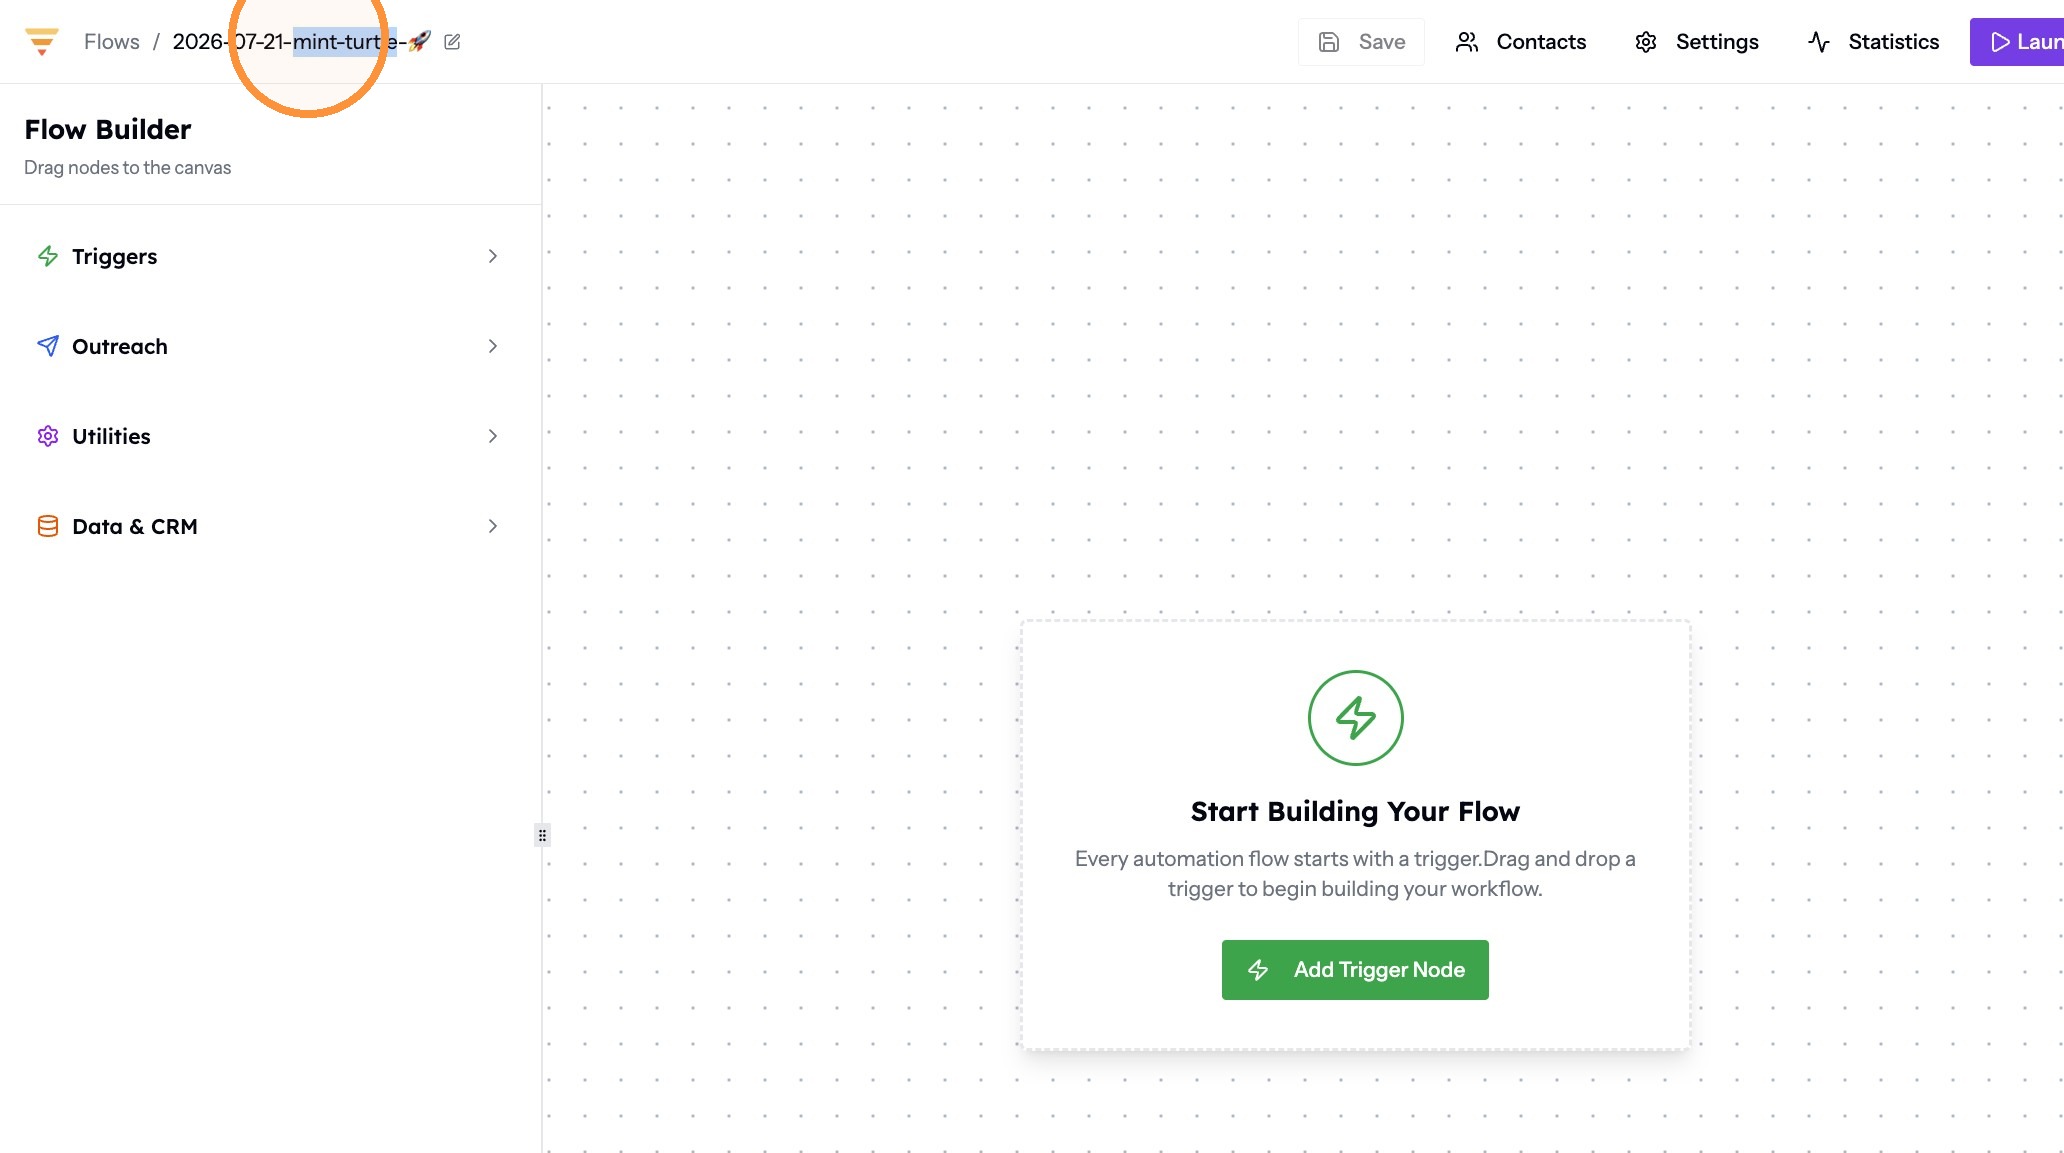
Naming your flow
Build the branching logic
-
Click Triggers. A trigger defines the event that enrolls a contact into the flow.
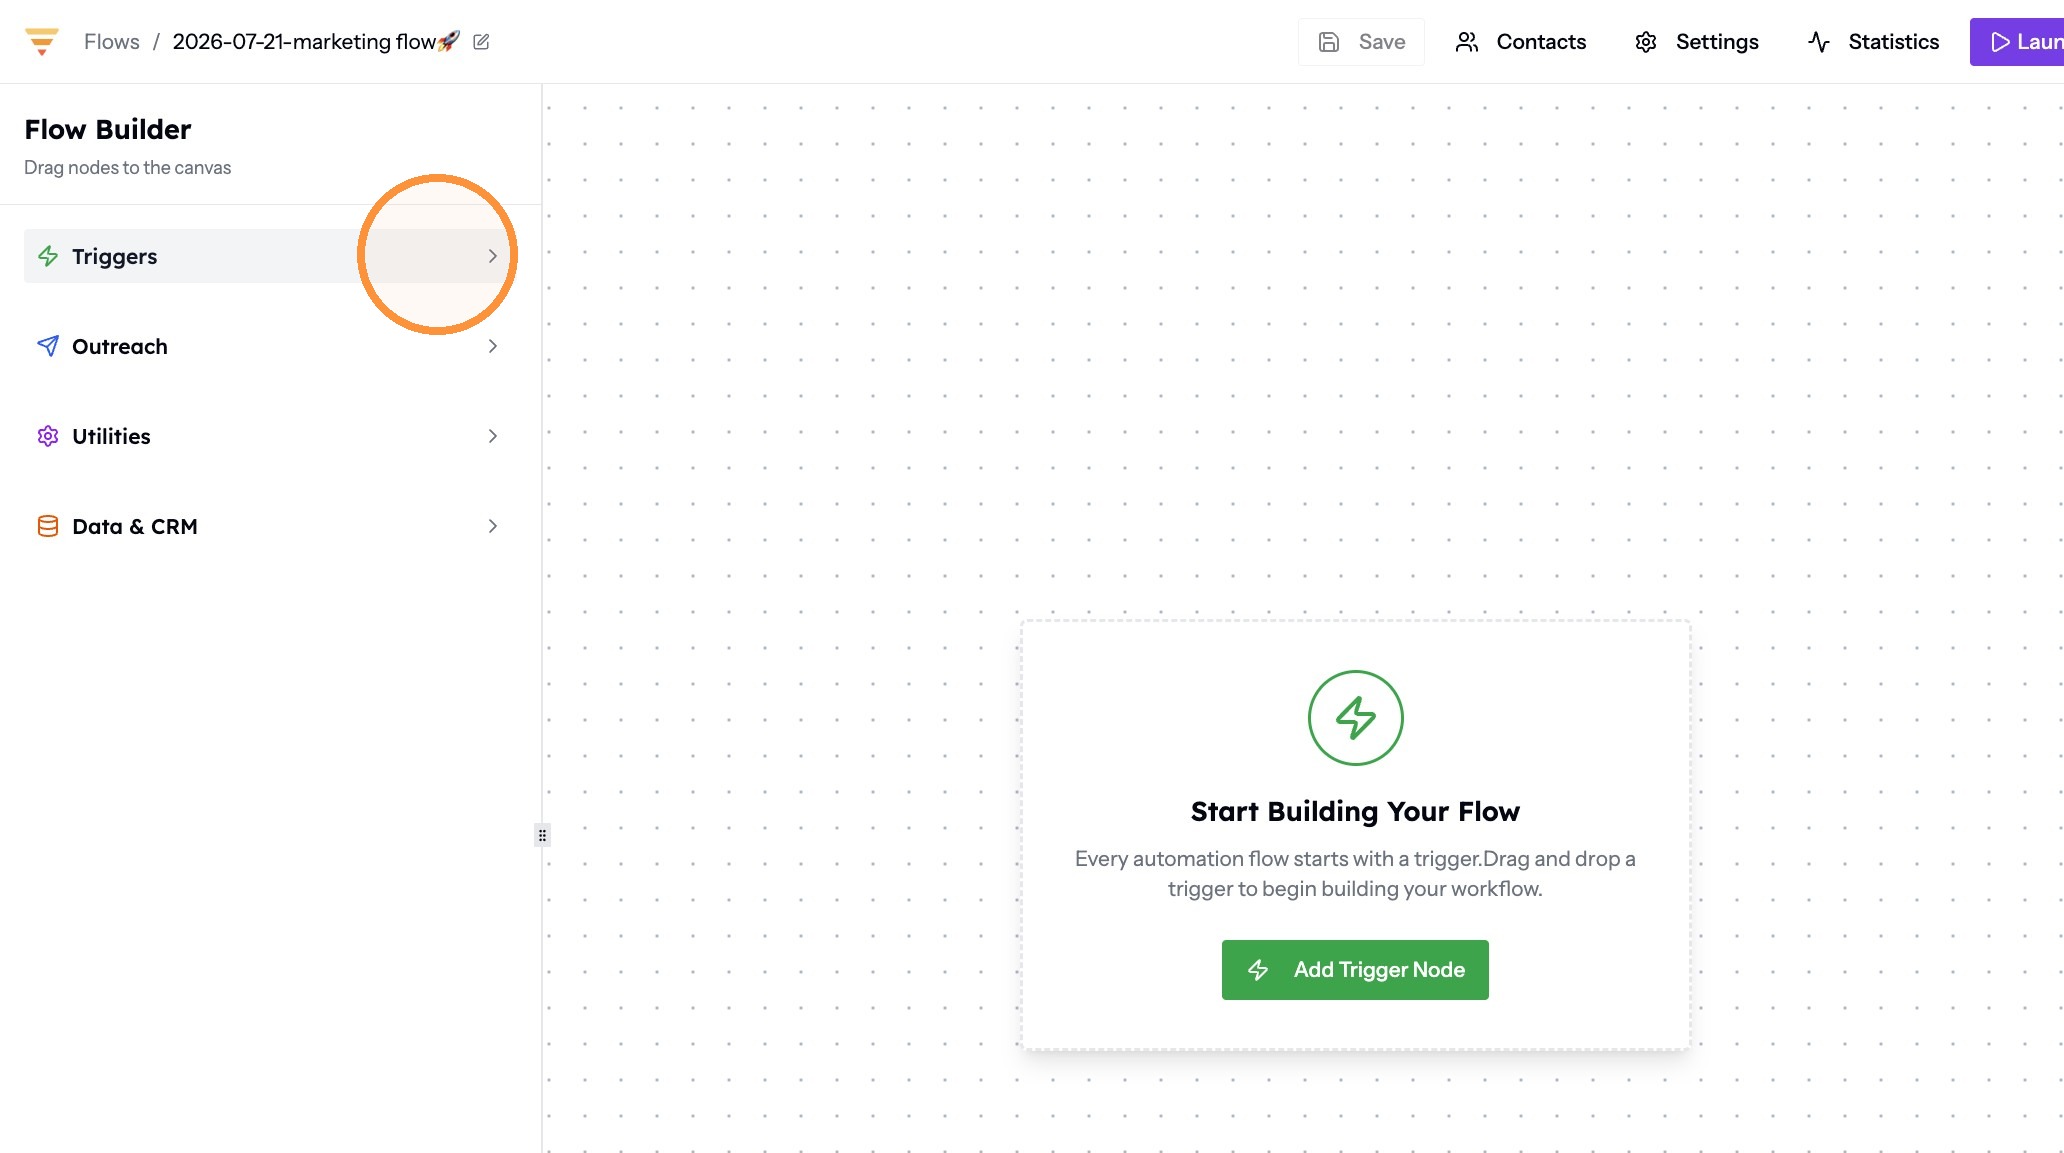
Opening Triggers -
Drag Contact added to the flow onto the centre of the canvas.
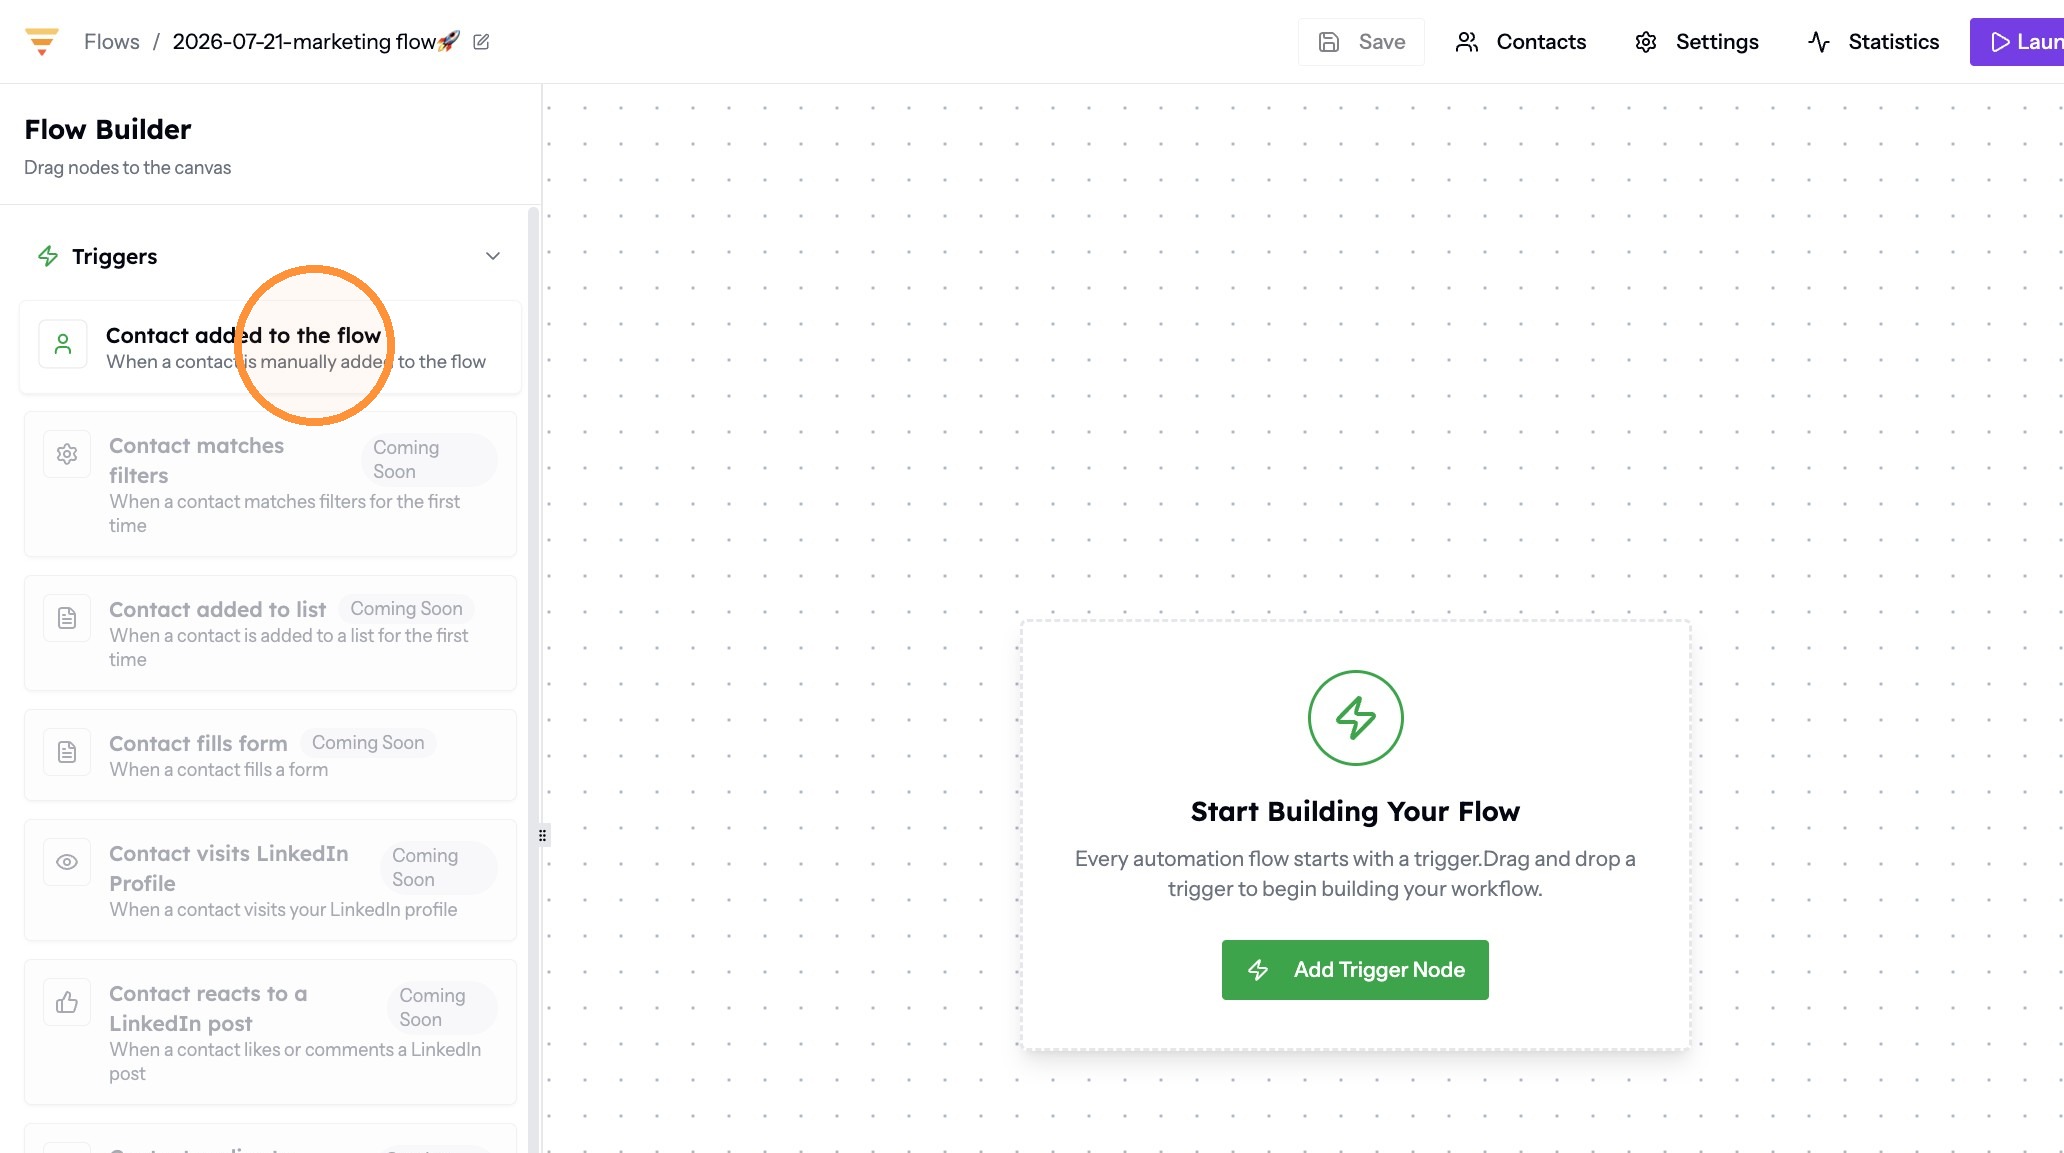
Placing the trigger -
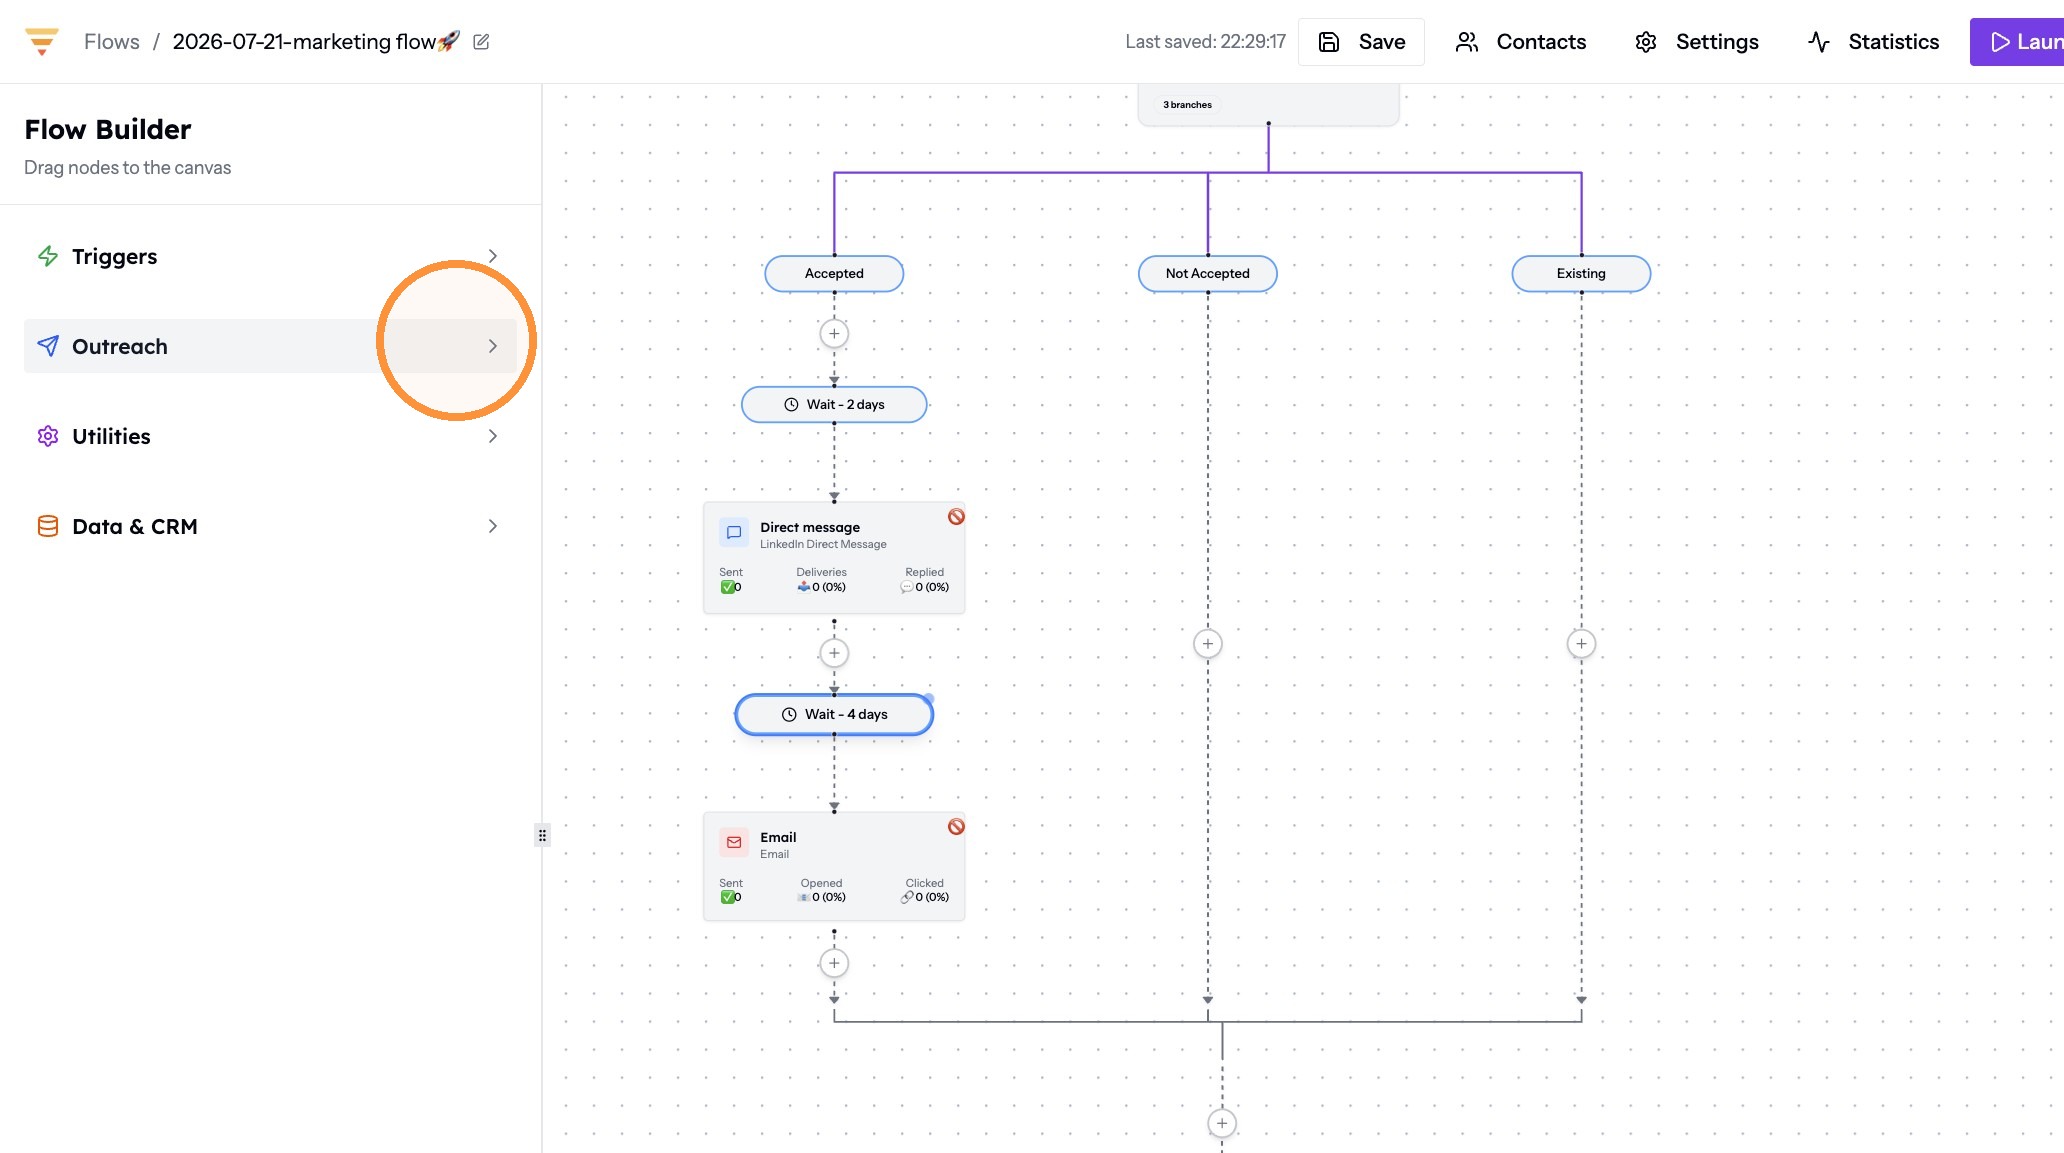
Click Outreach to open the outreach actions.
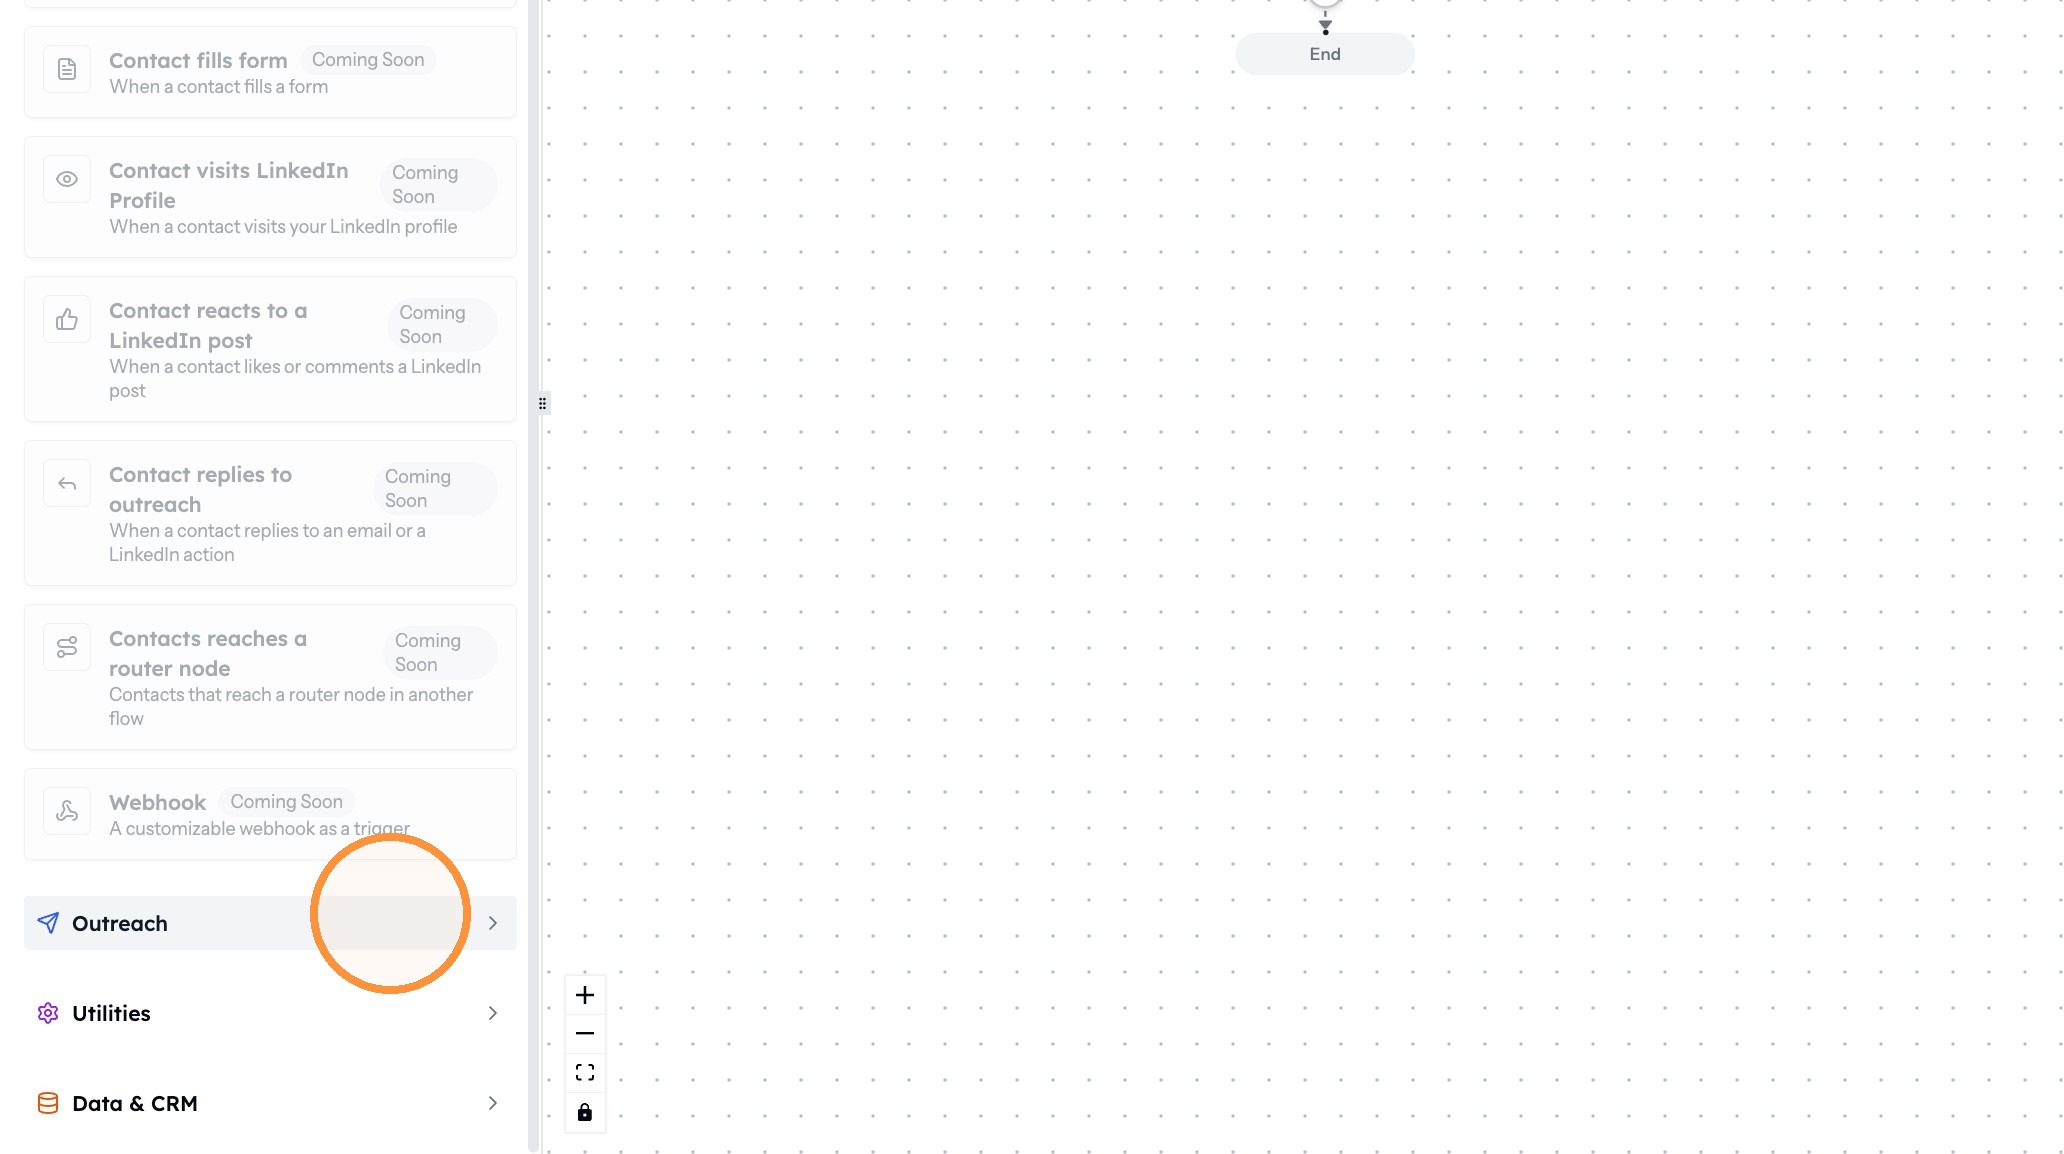
Opening Outreach -
Drag Connection request onto the plus sign below the trigger card.
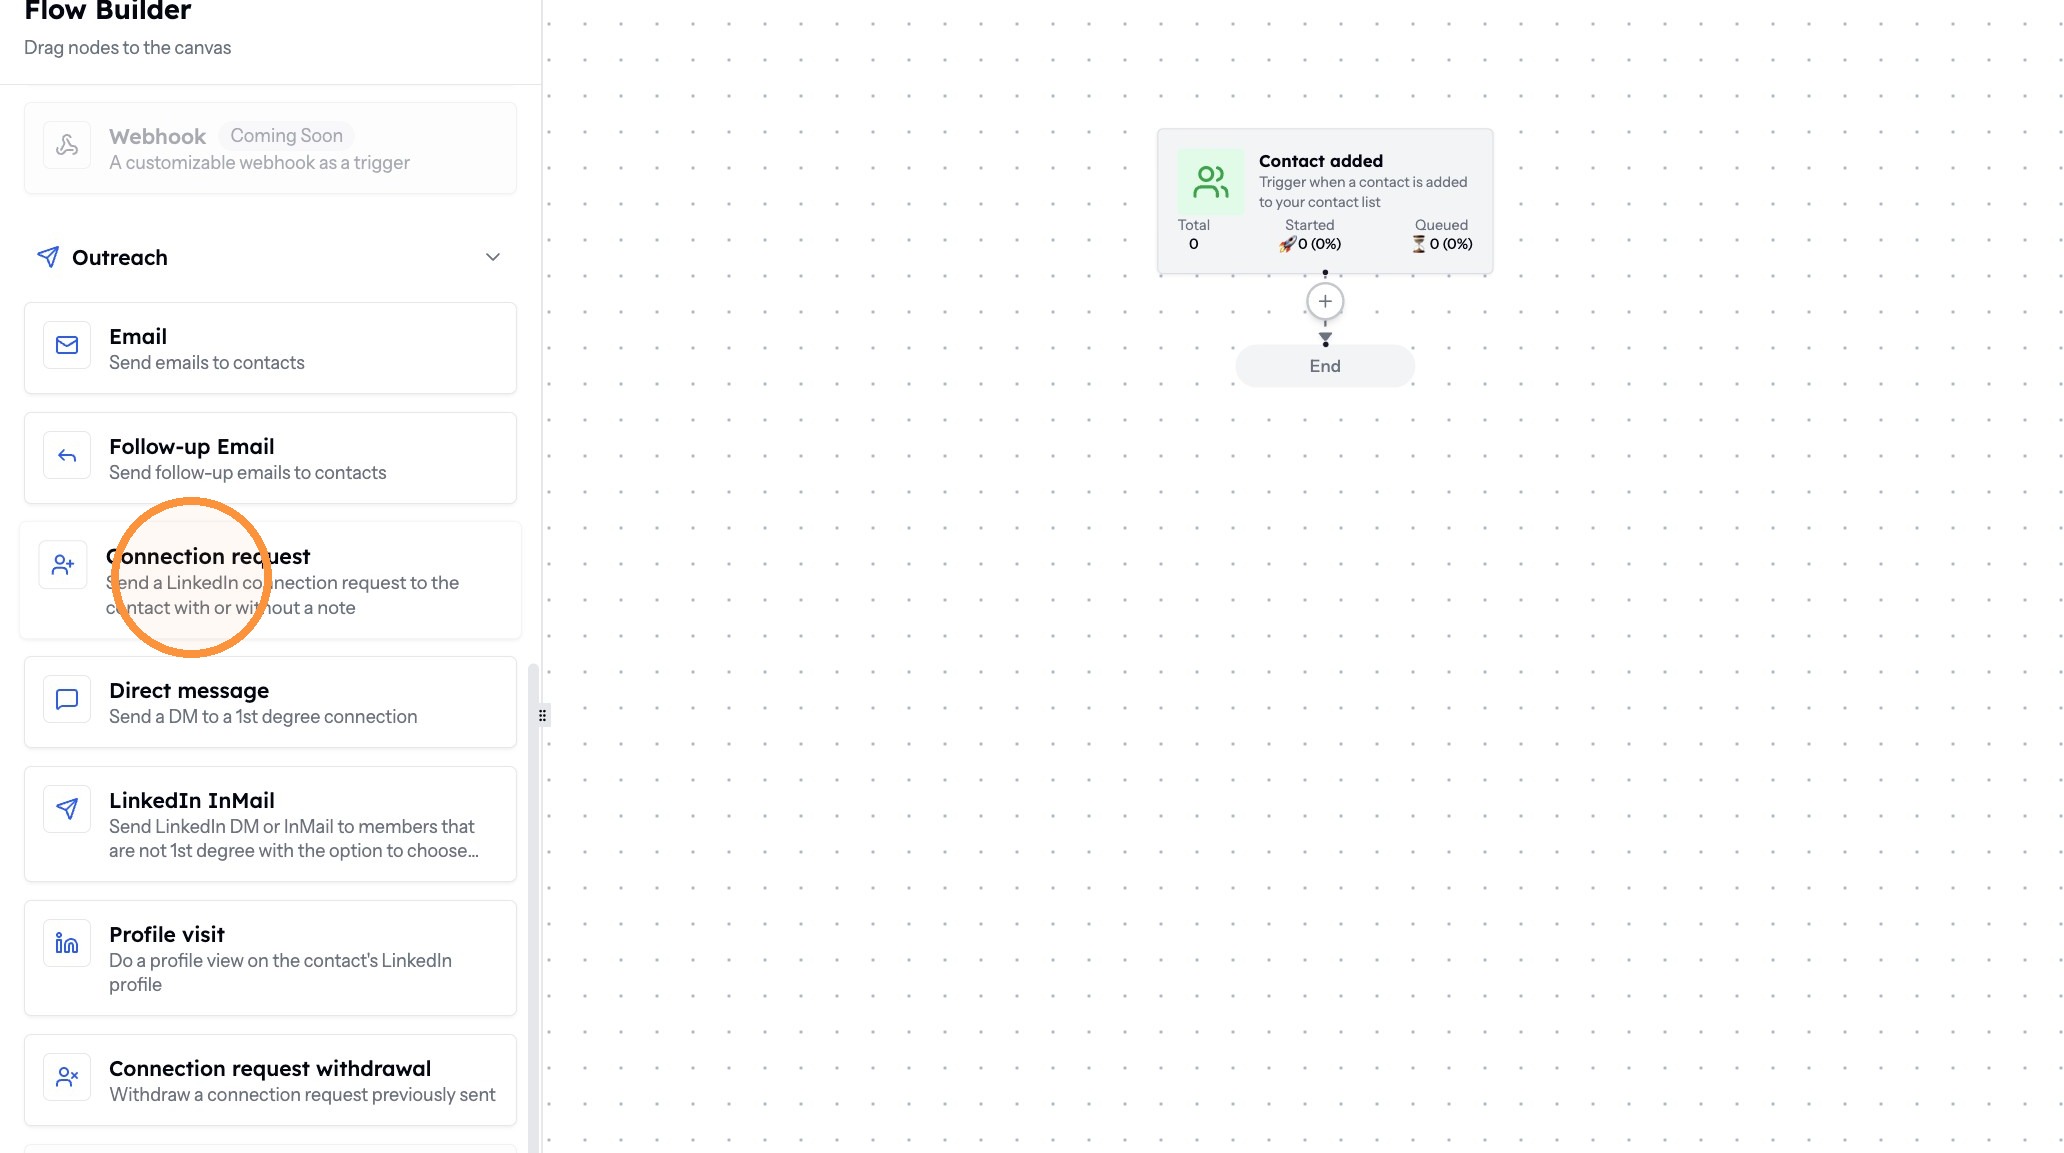
Adding the connection request -
Click Utilities to open the follow-up tools.
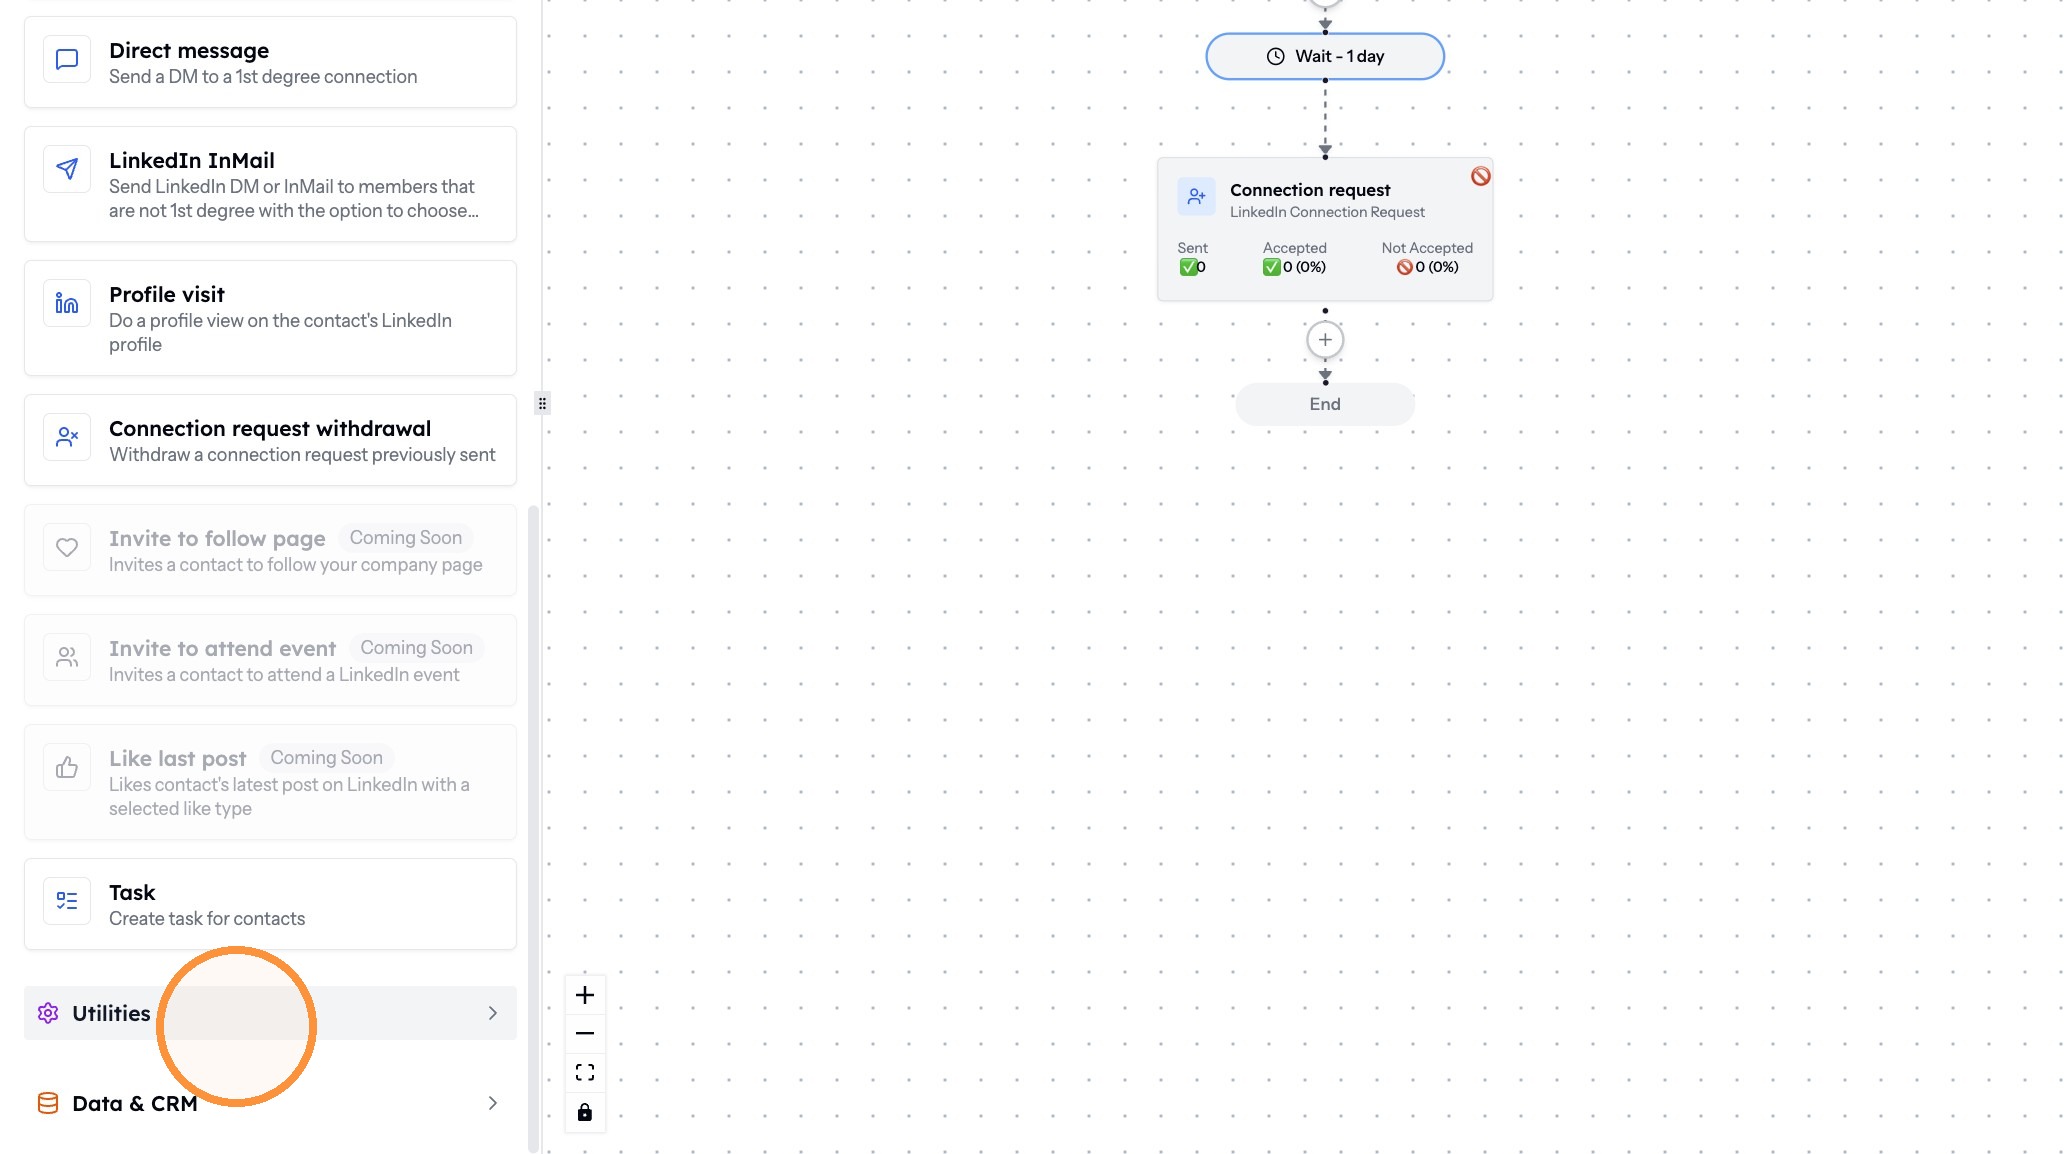
Opening Utilities -
Drag Follow-up Conditions onto the plus sign.
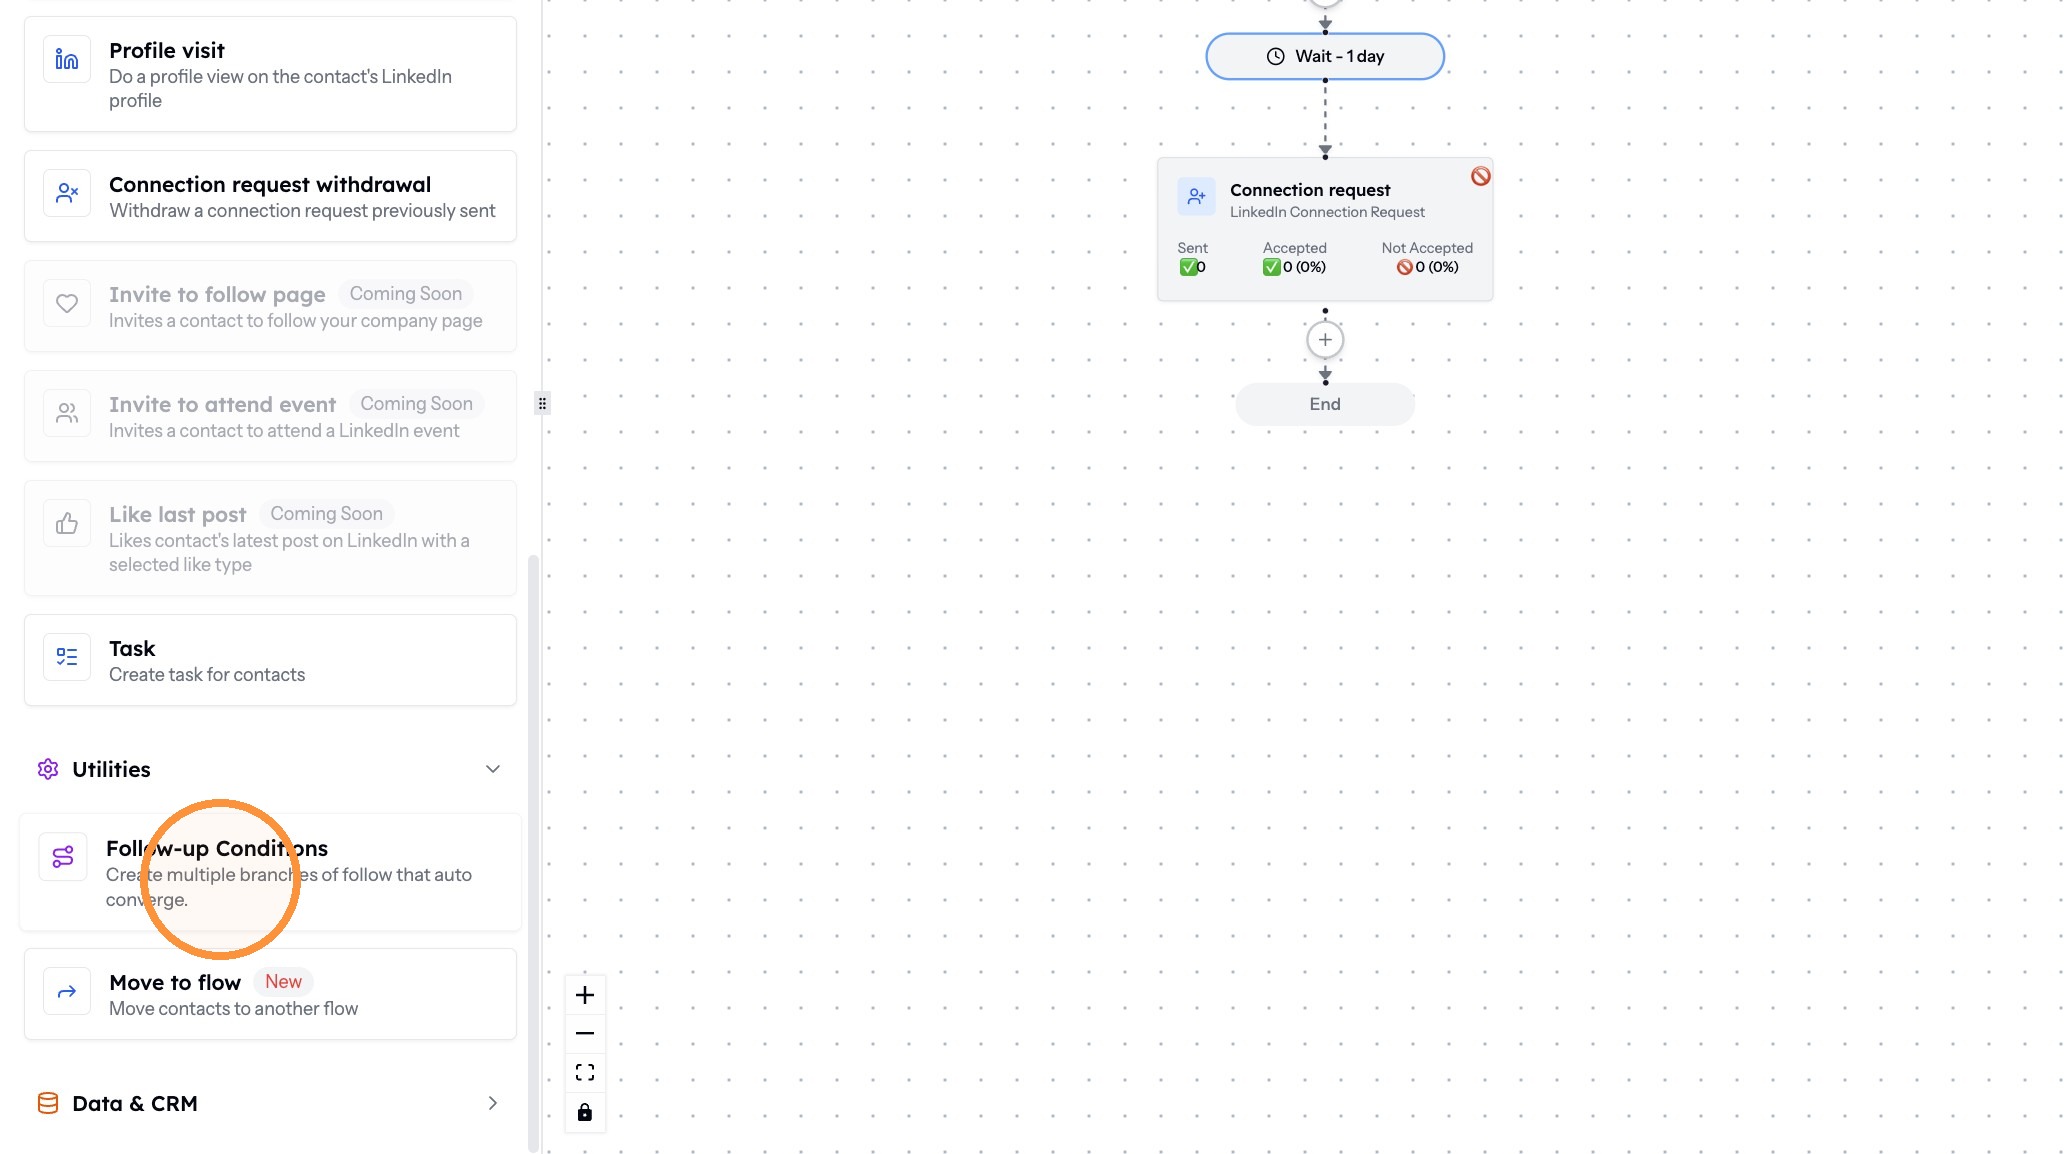
Adding follow-up conditions -
Click the Follow-up Conditions card to define the branches coming out of the previous card.
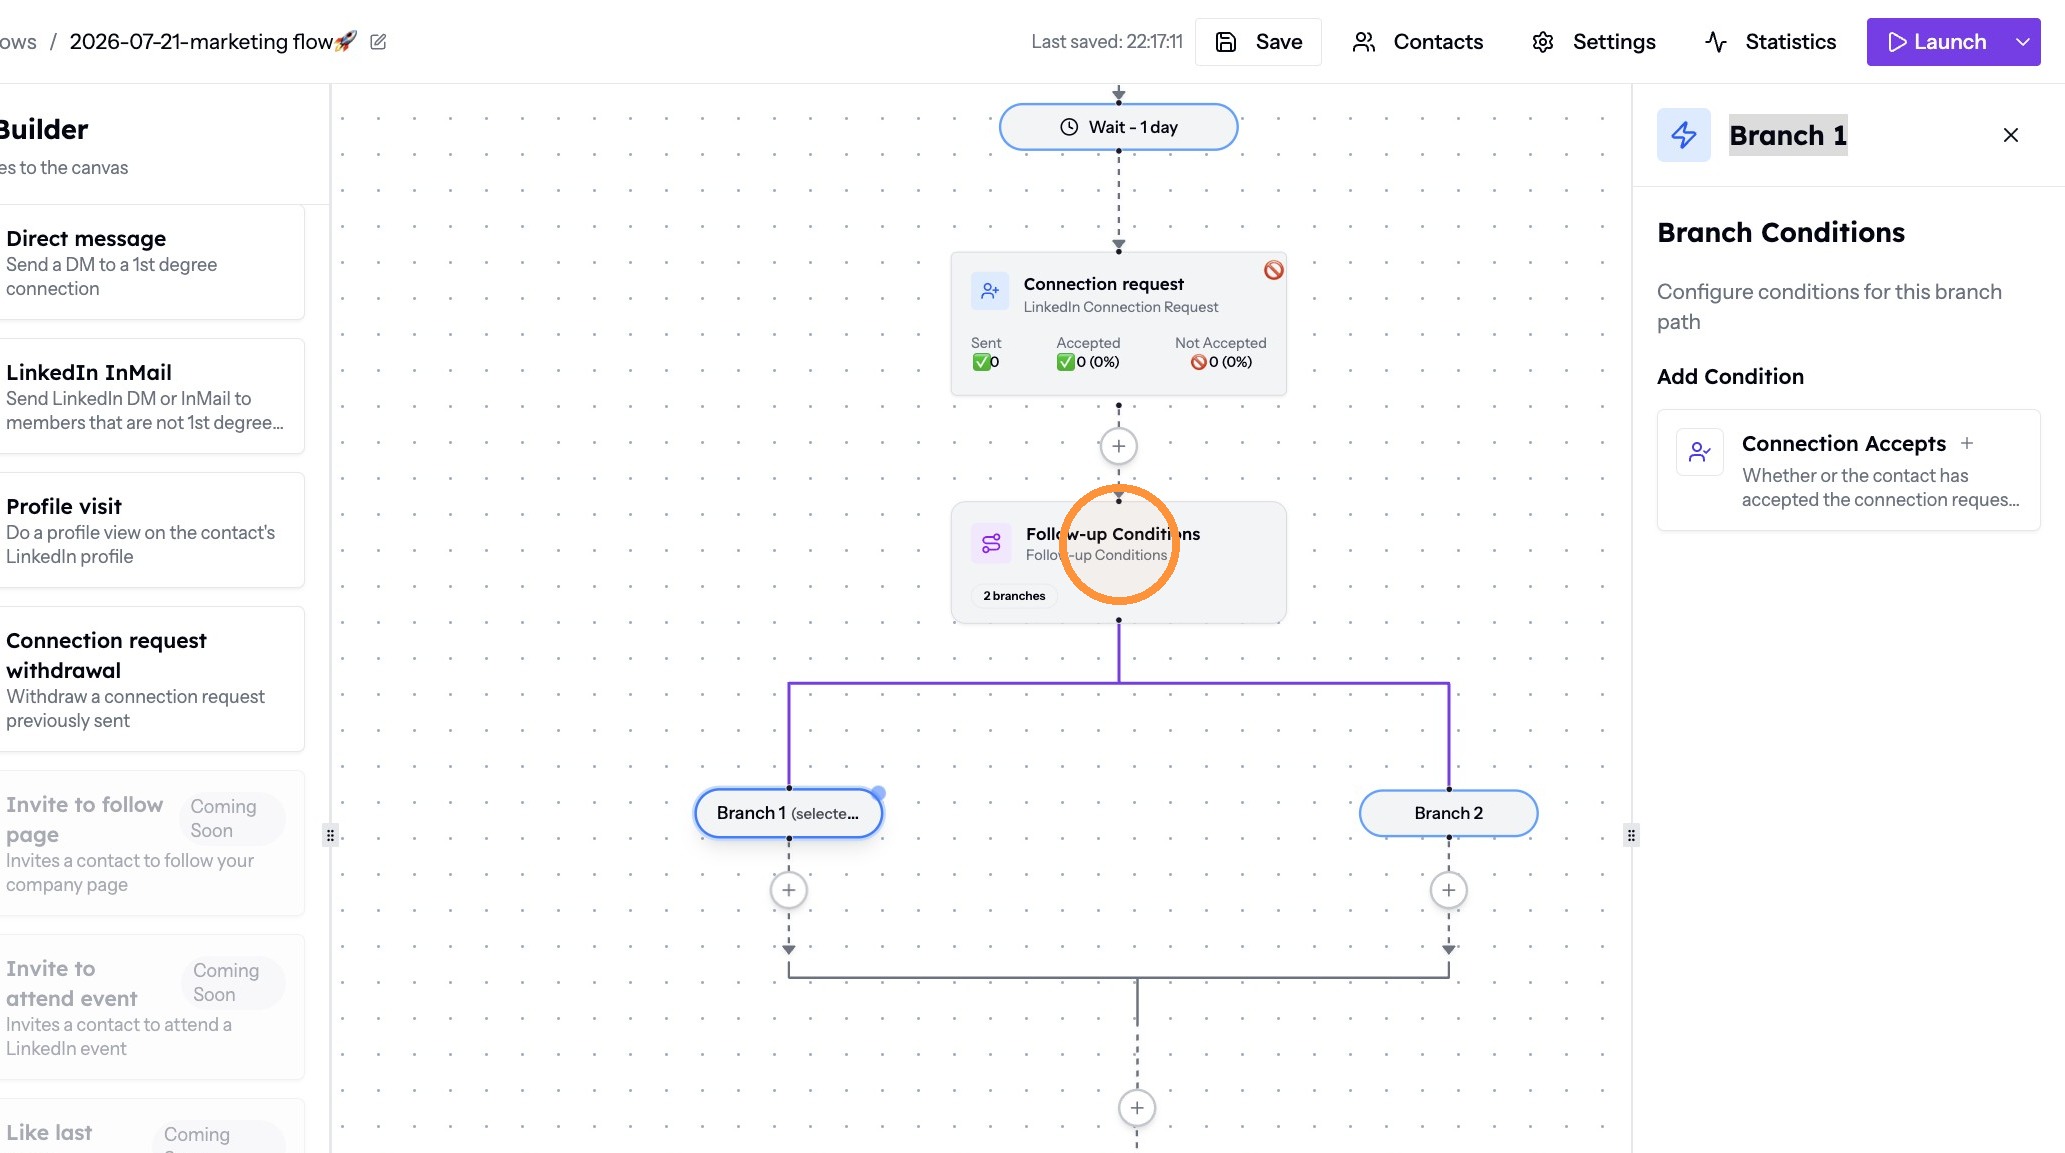
Defining the branches -
Rename the branches as required.
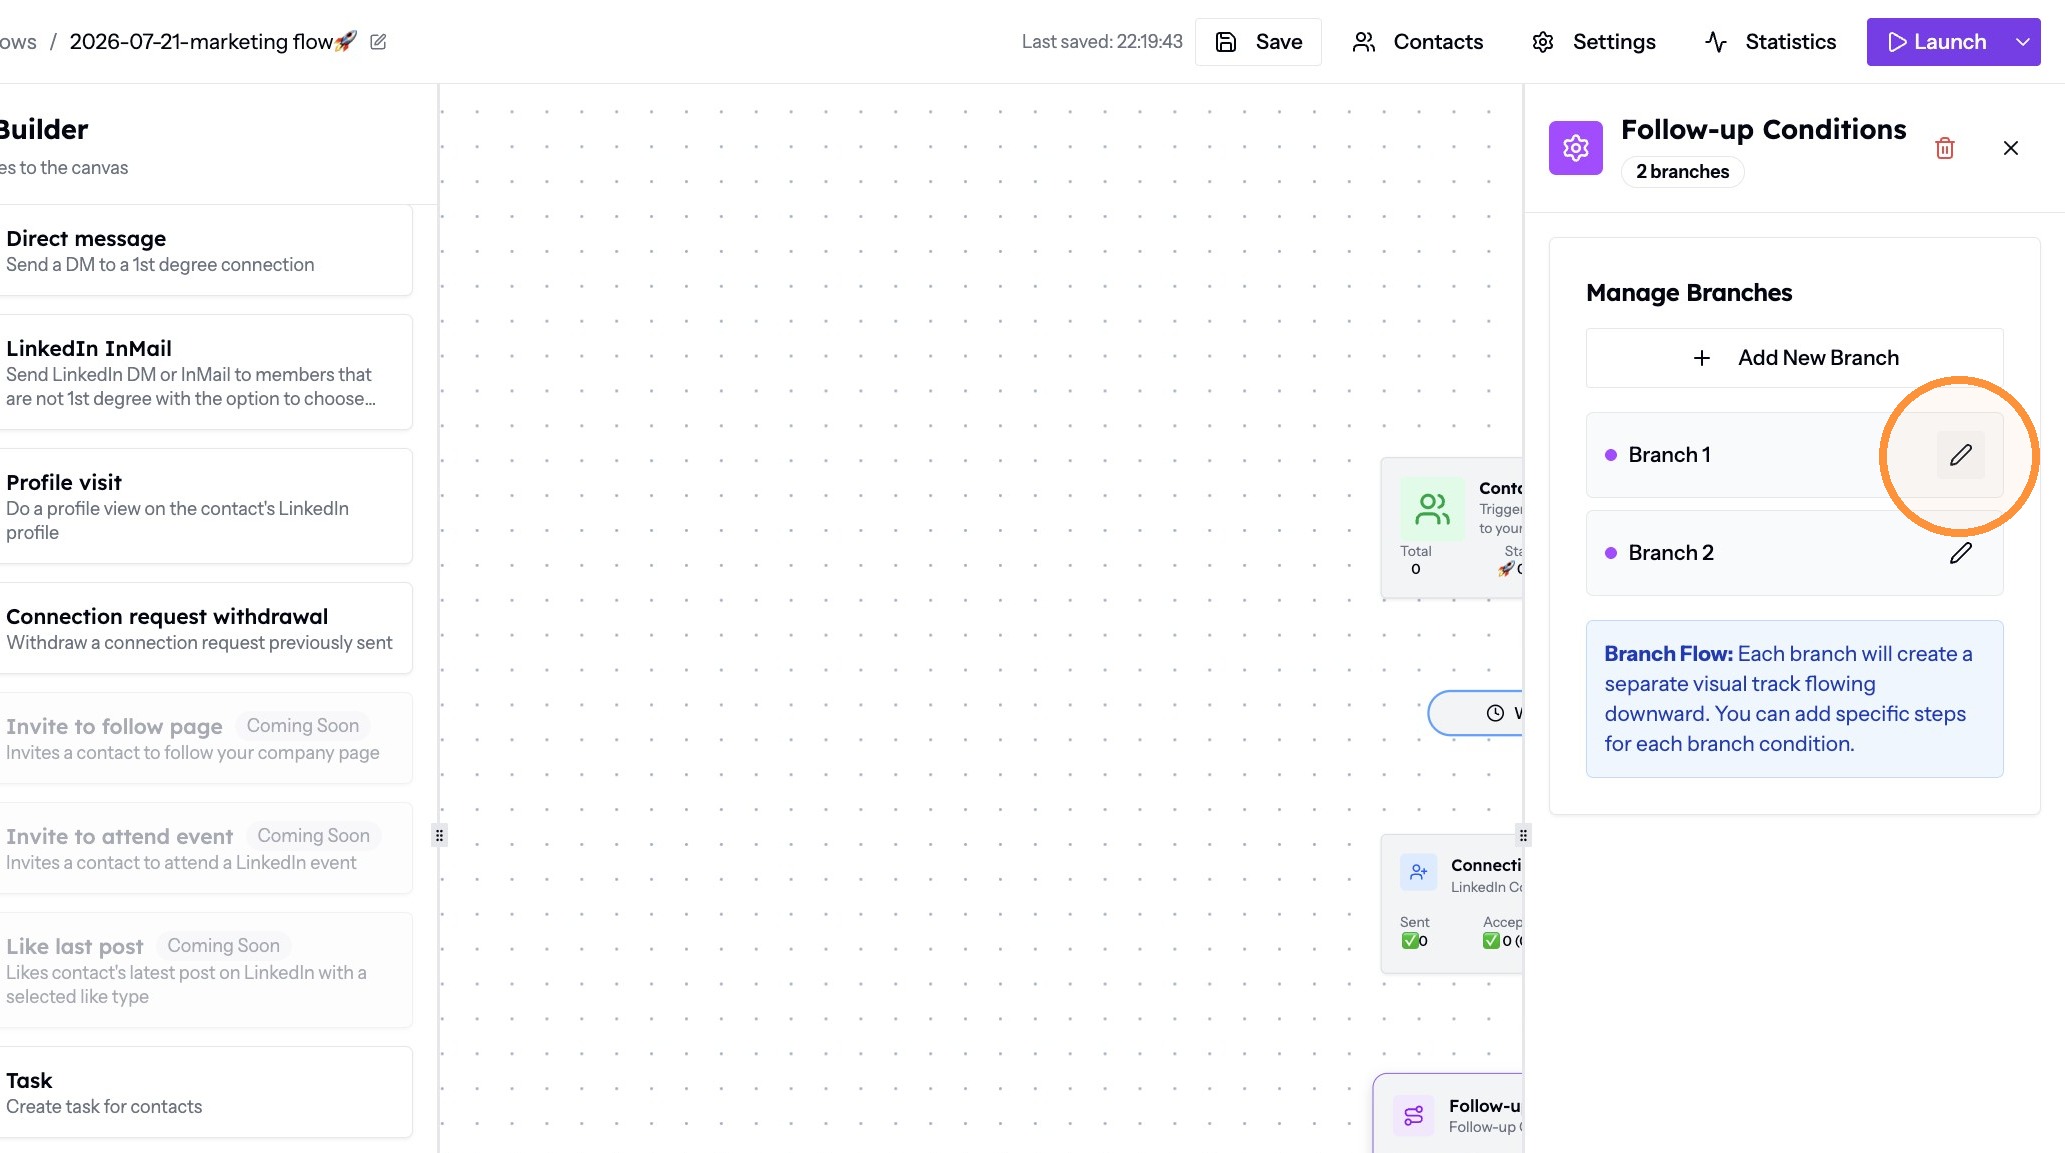
Renaming a branch -
To add another branch, click Add New Branch and name it.
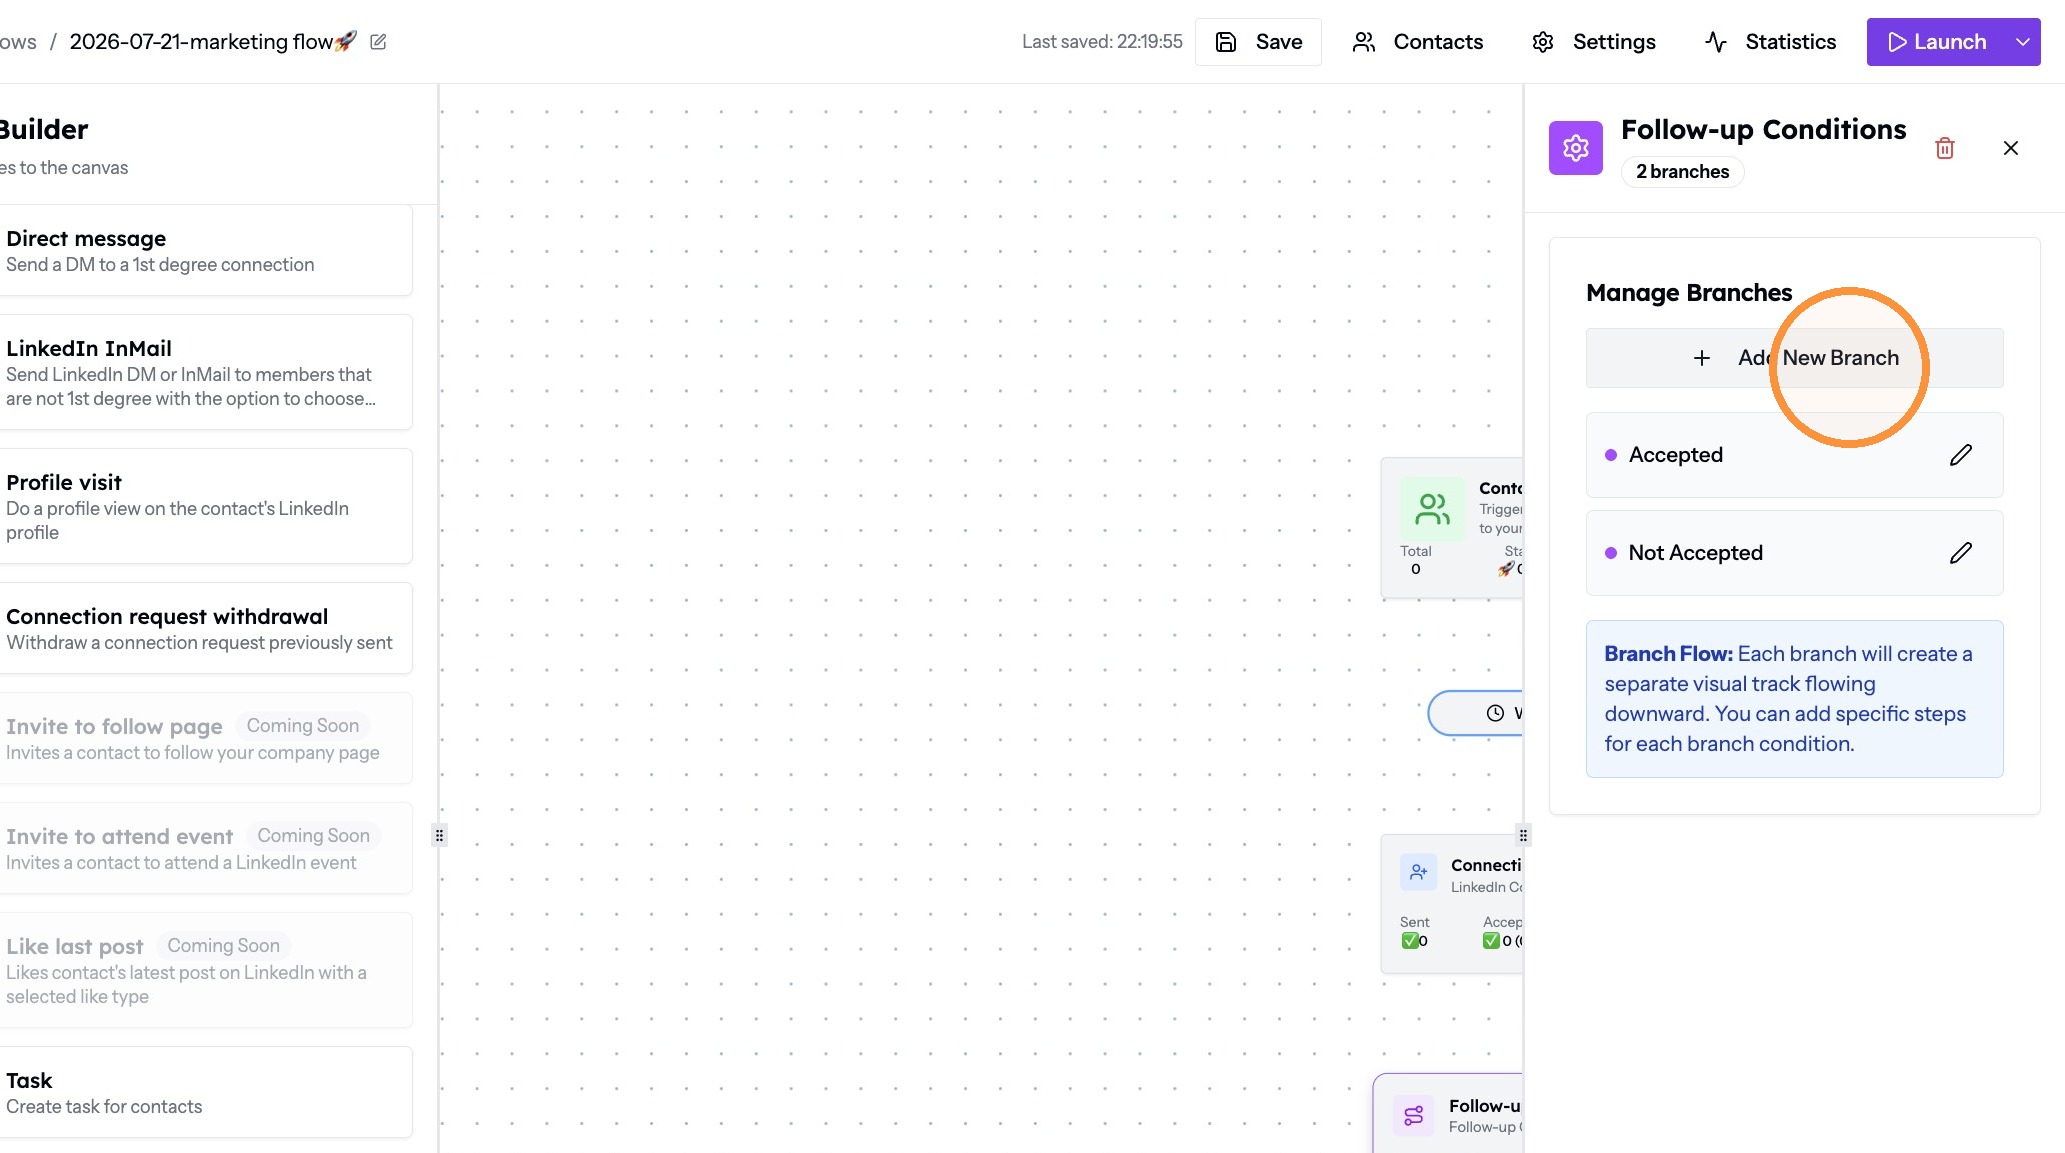
Adding a branch -
Close the menu with the x, then click a branch name to set the rules for that branch.
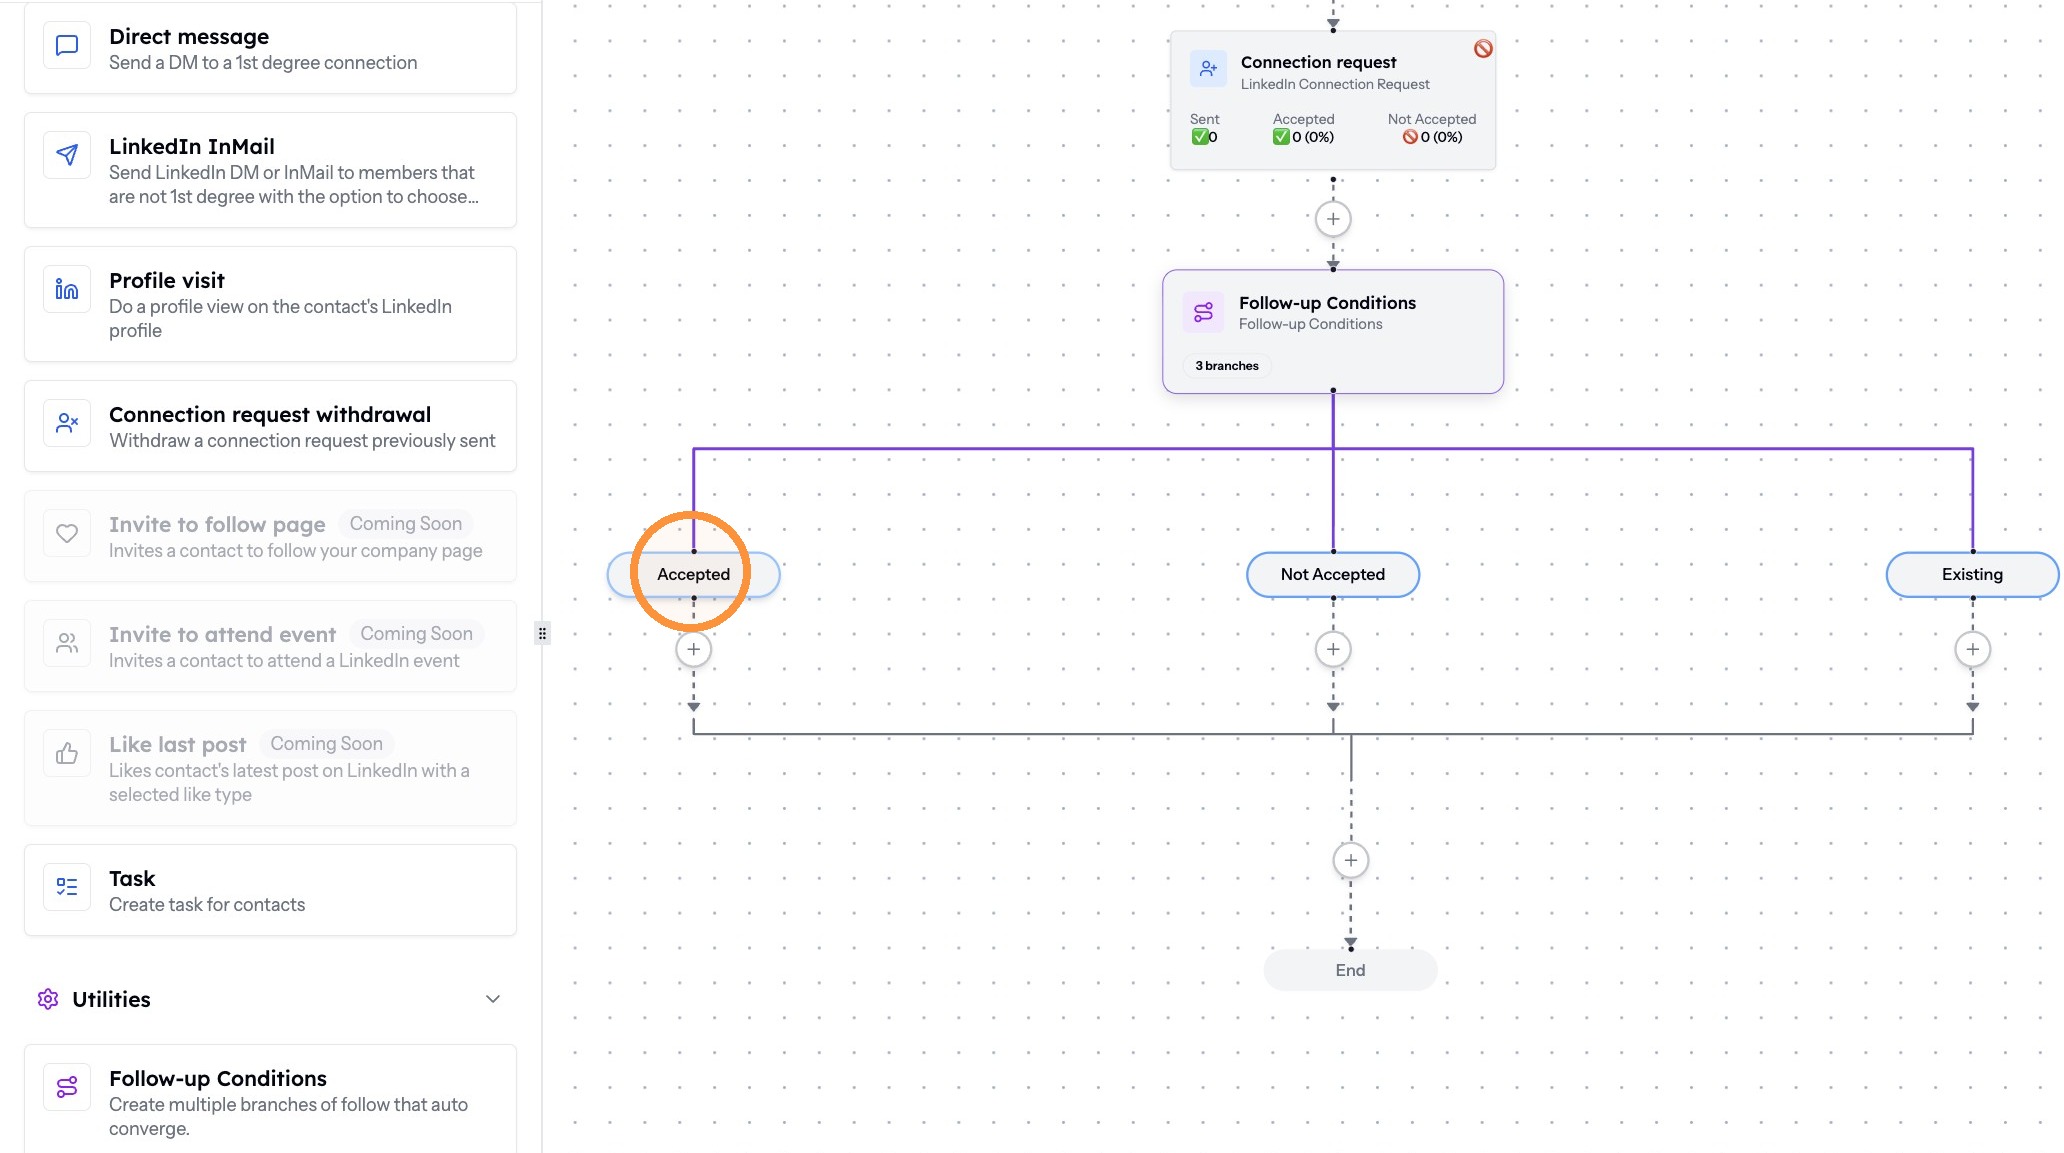
Opening the branch rules -
Click the branch rule, for example Connection Accepts, and select the condition that applies from the drop-down. Repeat for each branch, so every path has an explicit rule.
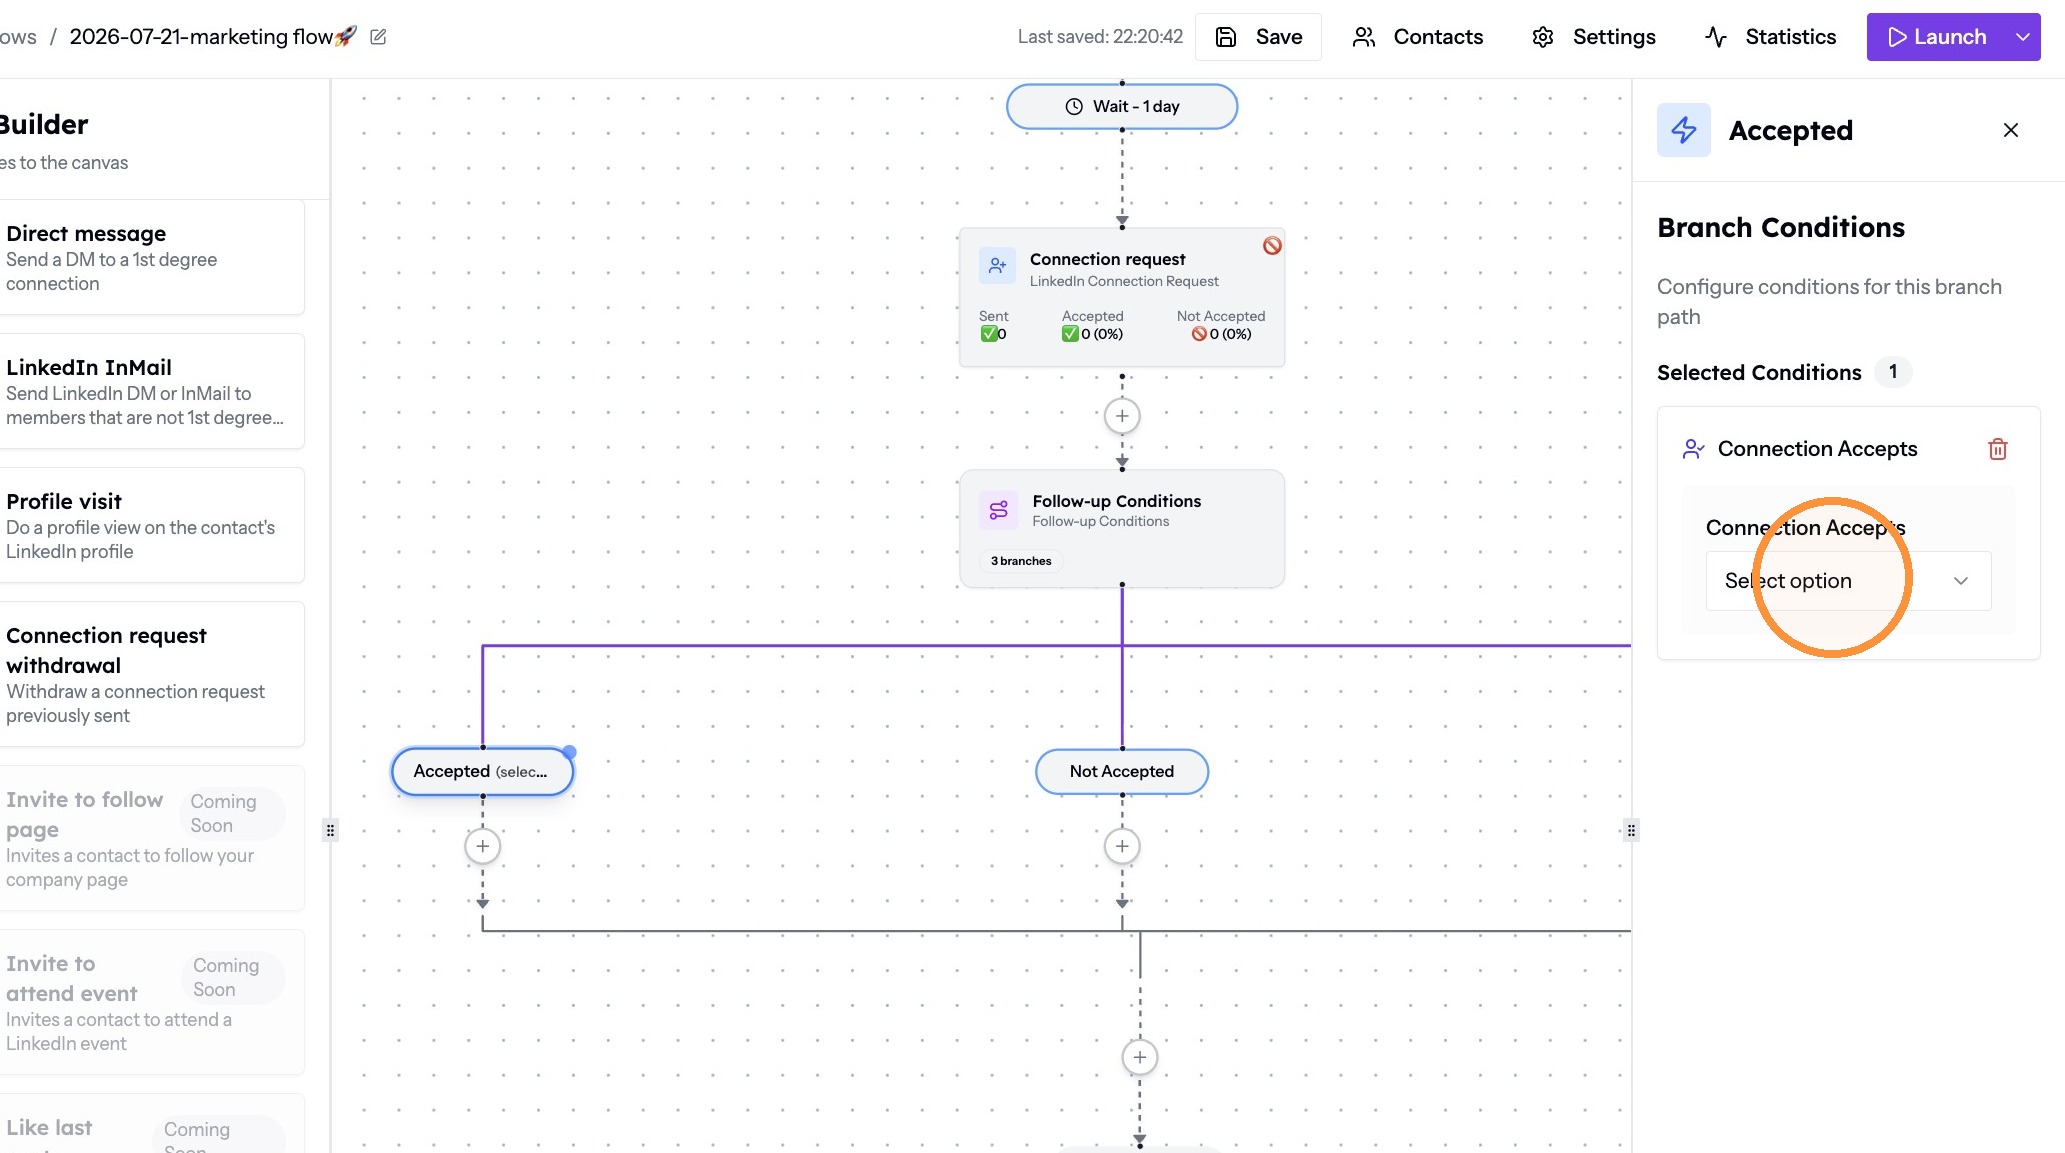
Setting the branch condition
Add outreach steps to each branch
-
To add a LinkedIn message, drag Direct Message onto the plus sign below the relevant branch.
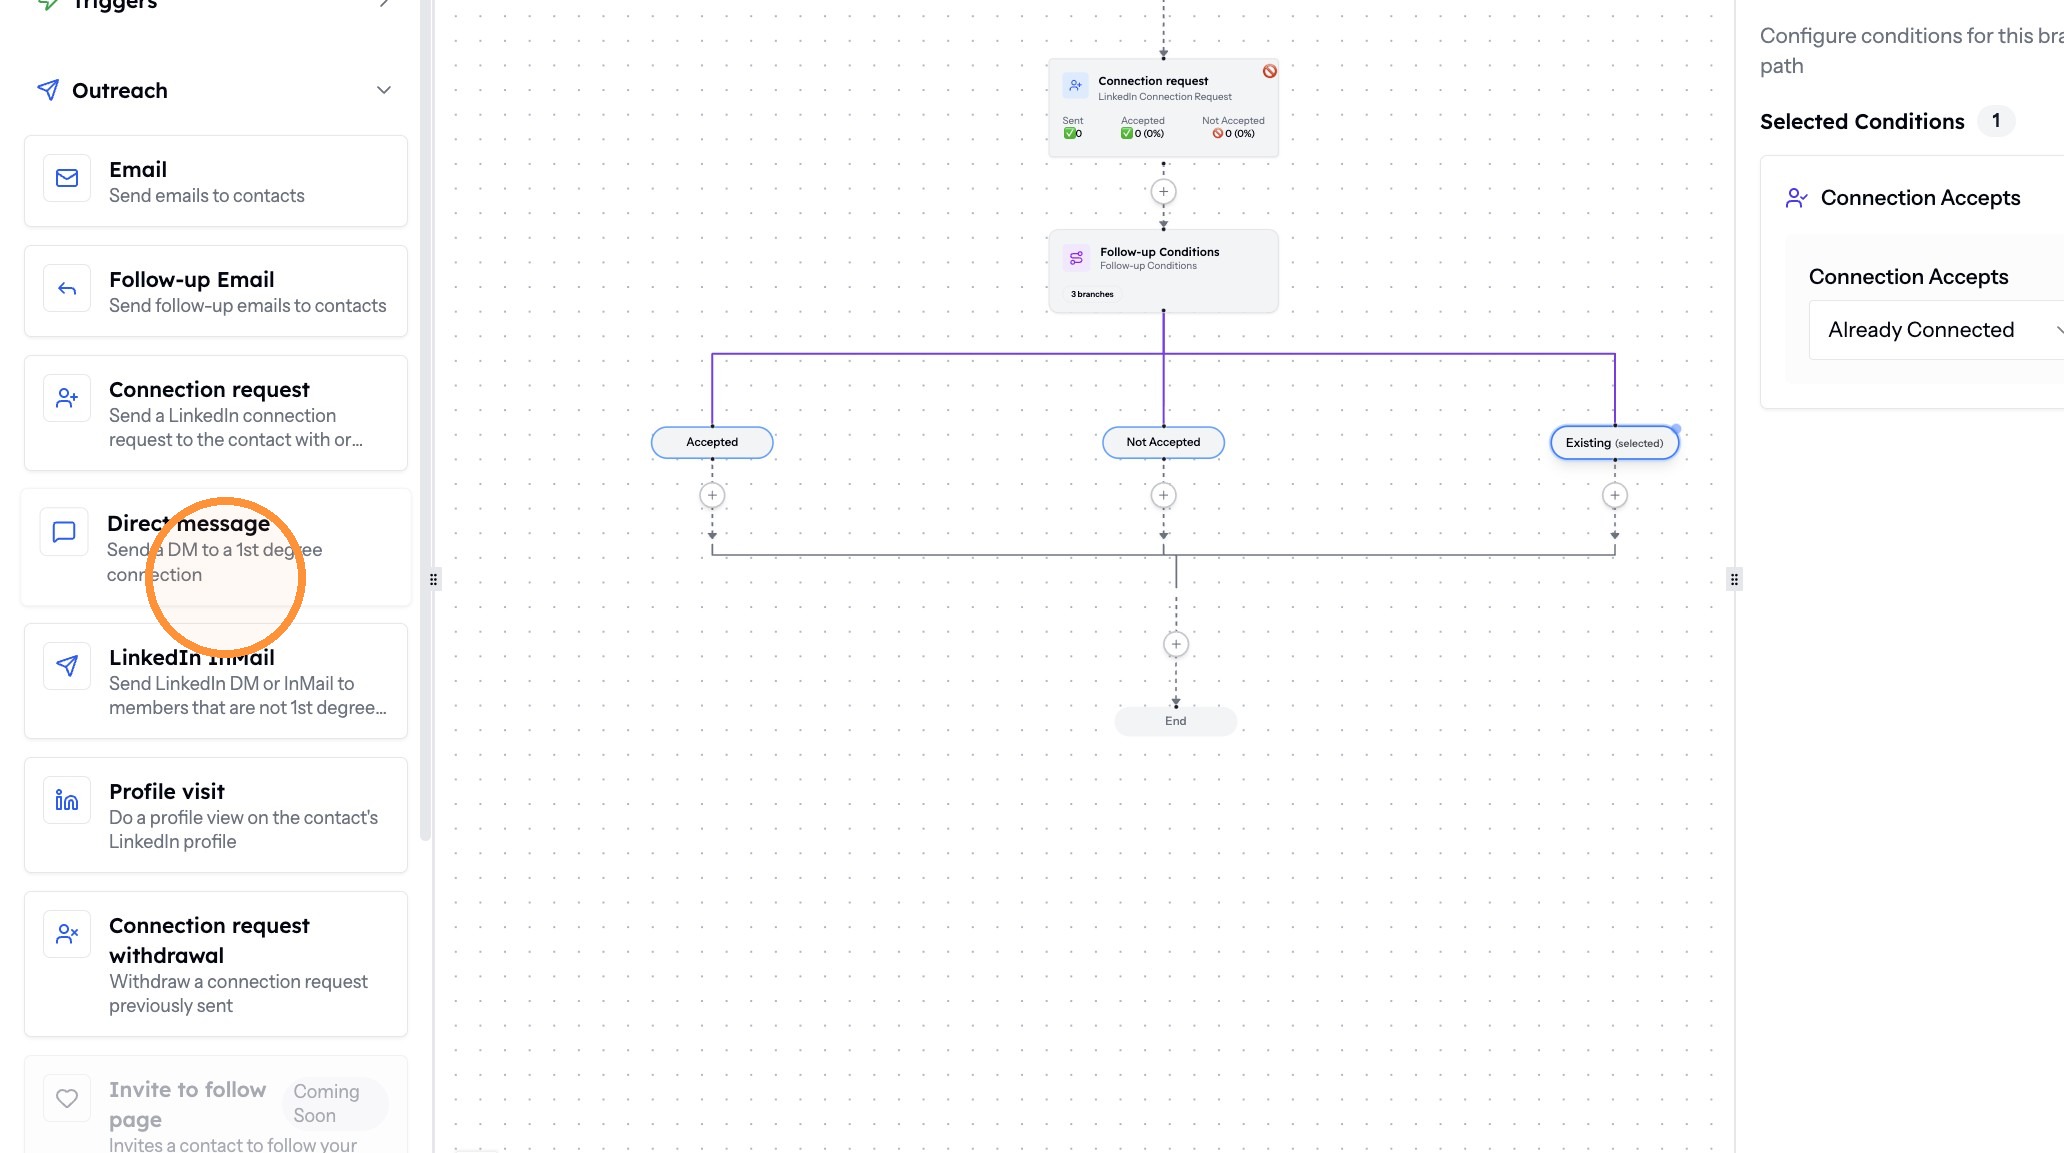
Adding a LinkedIn message -
To add an email step, drag Email onto the plus sign.
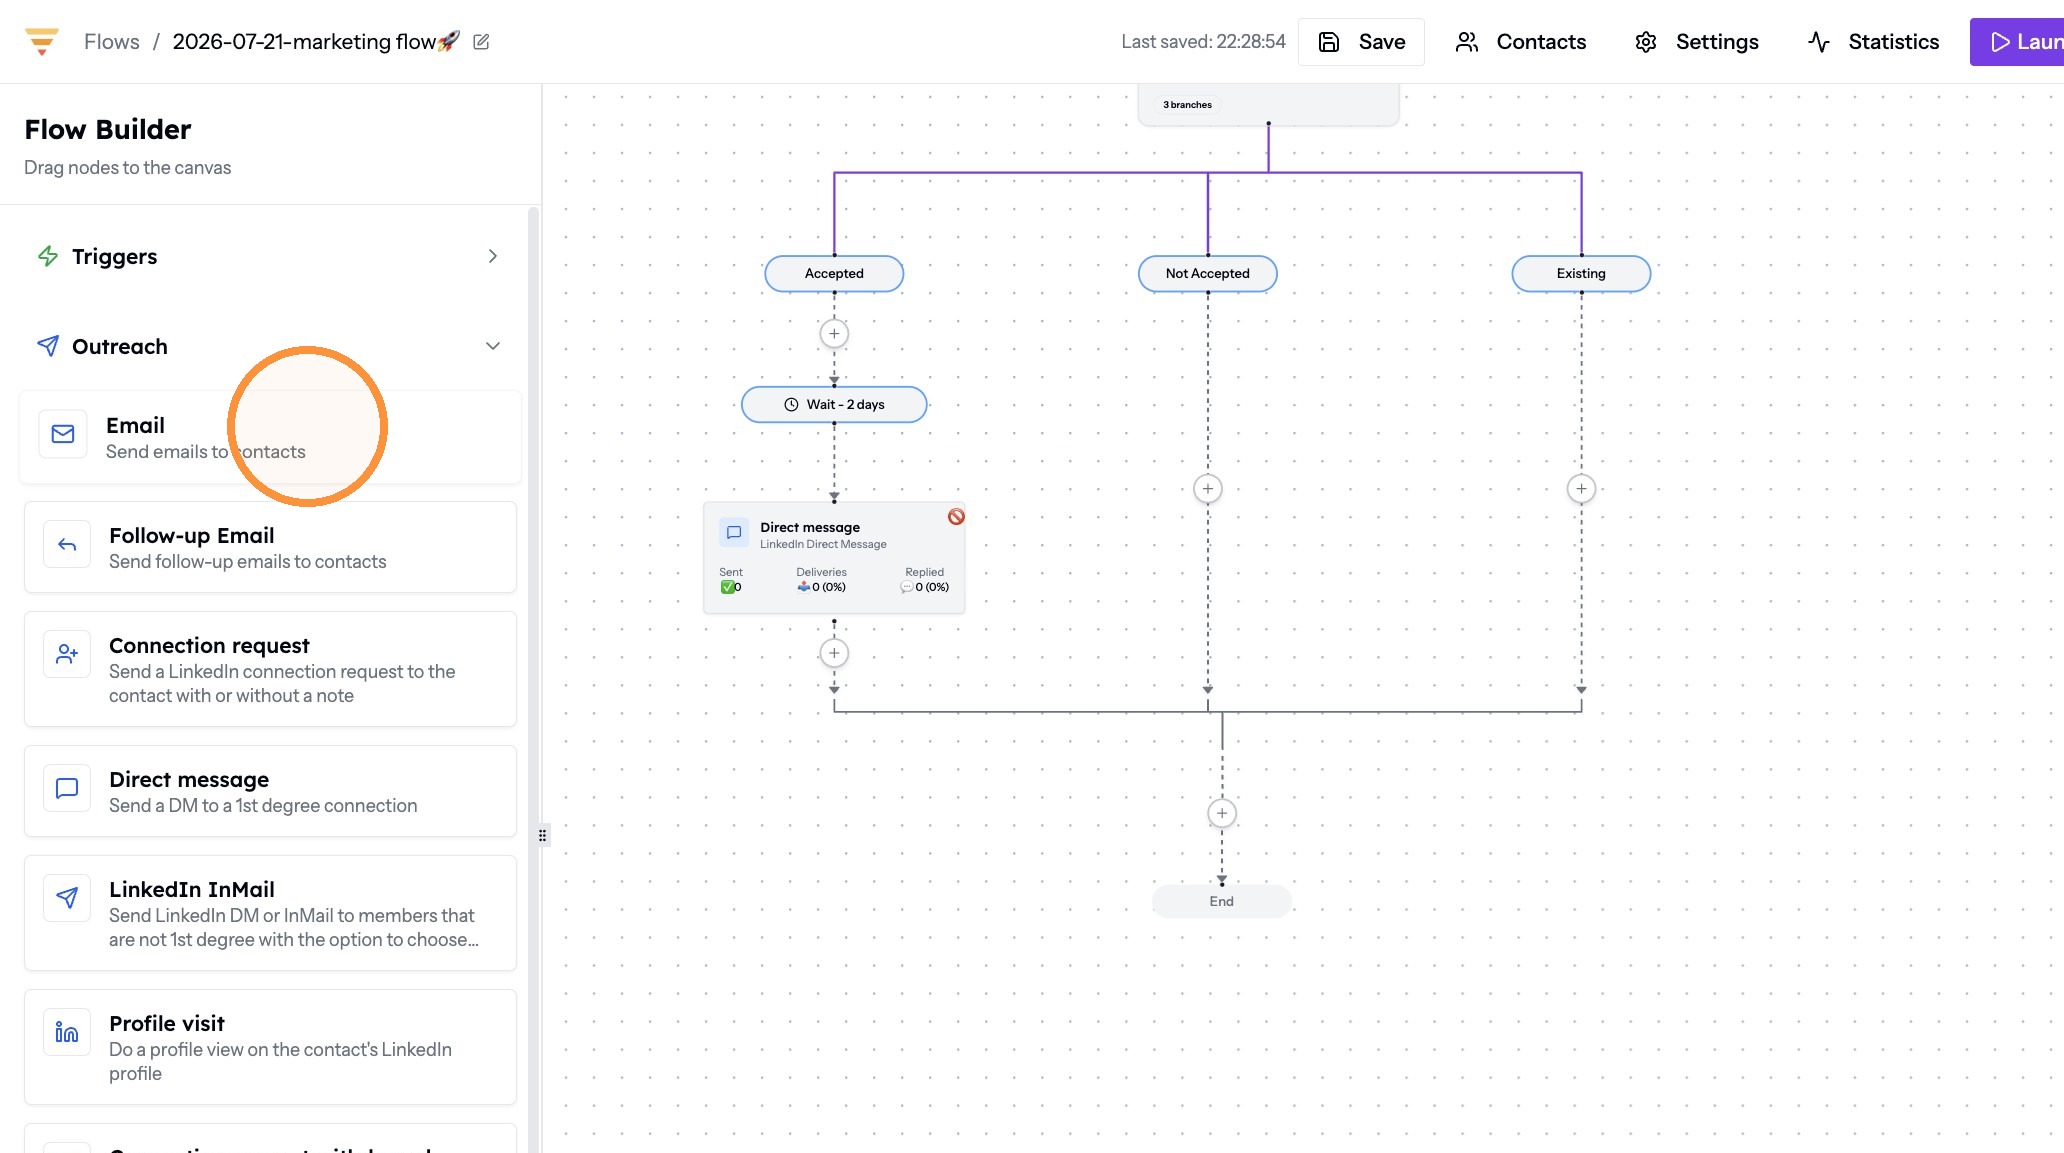
Adding an email step -
Click a Wait card to set the delay between actions, and set the duration and unit in the panel.
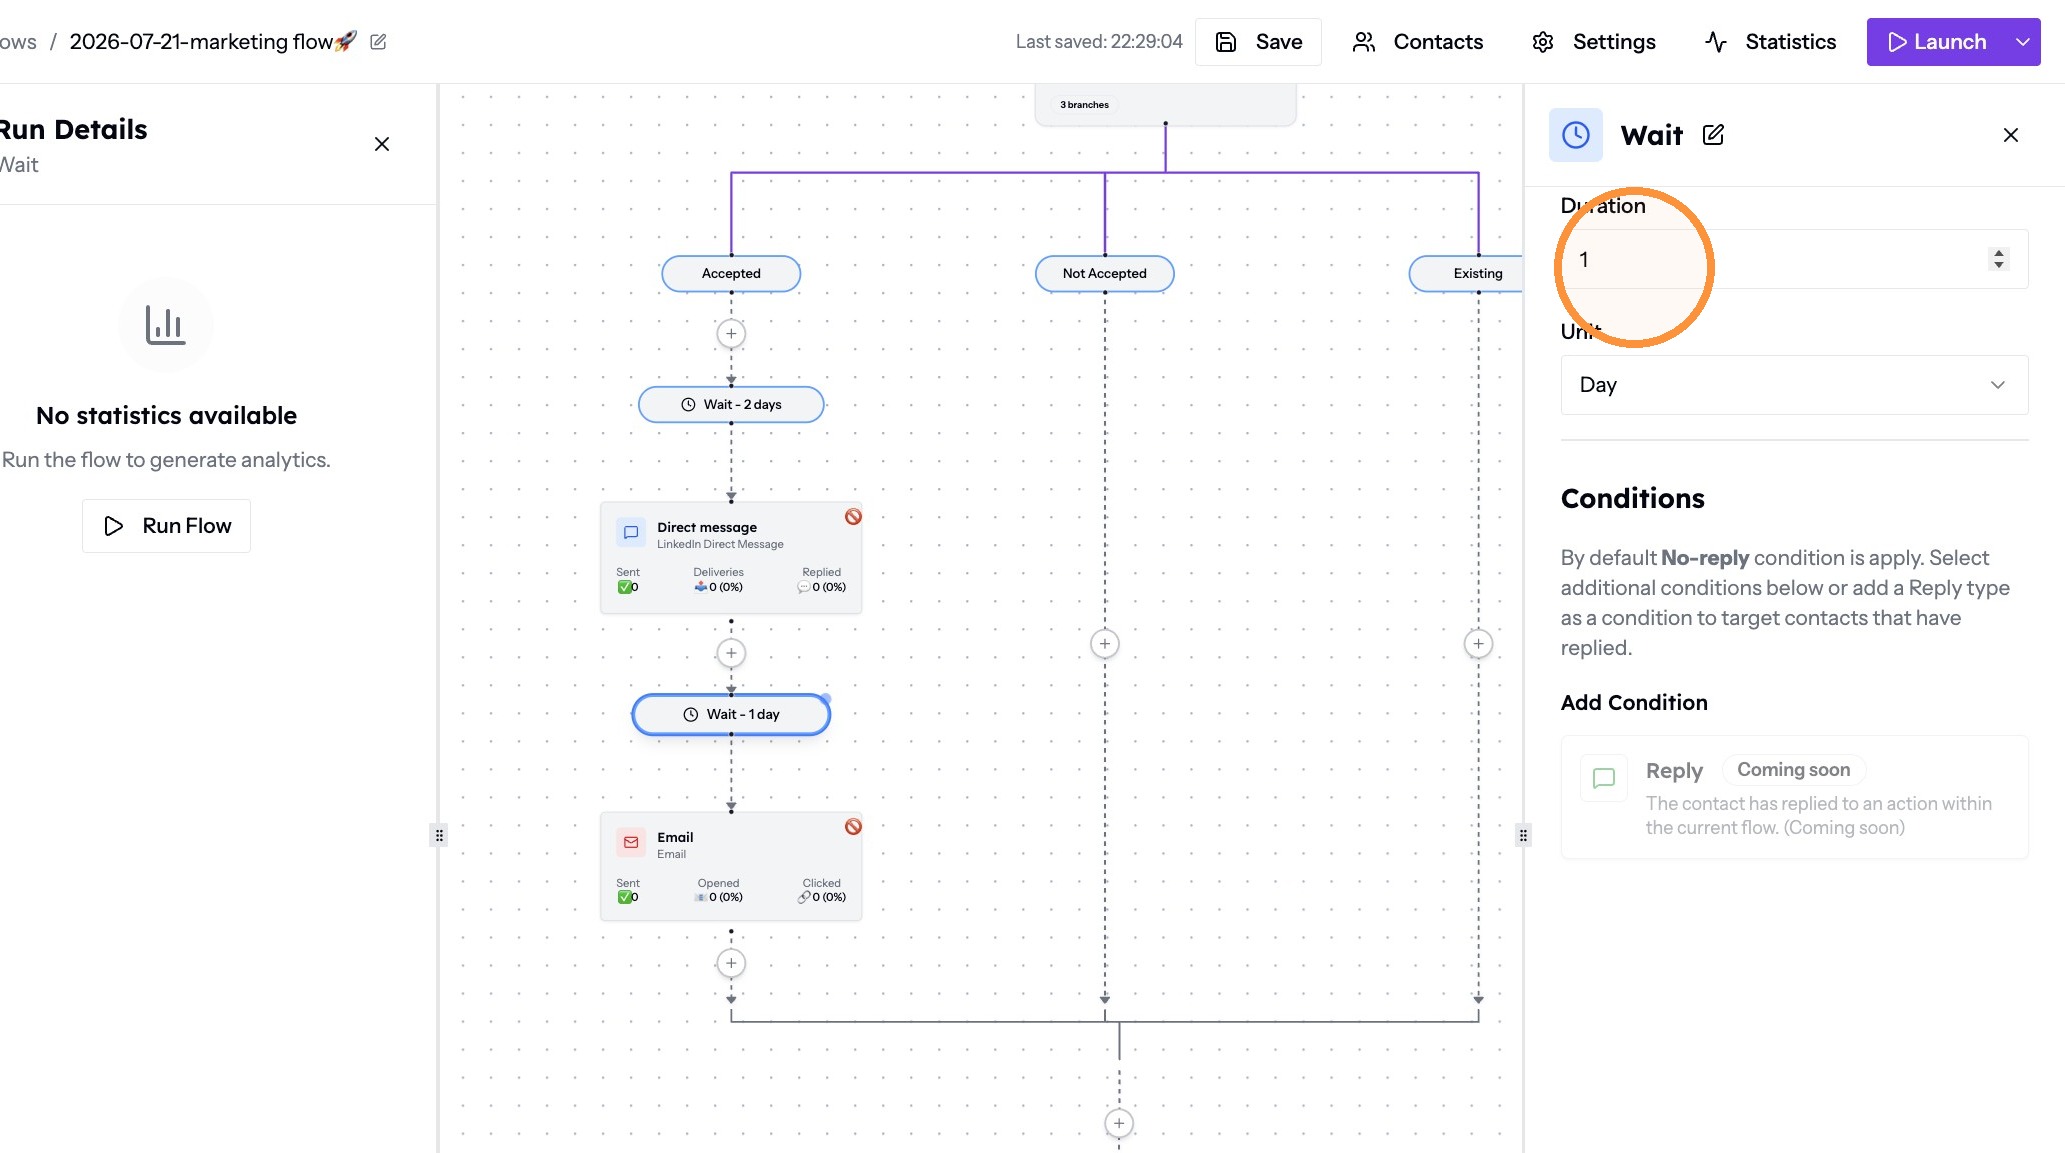
Setting a wait -
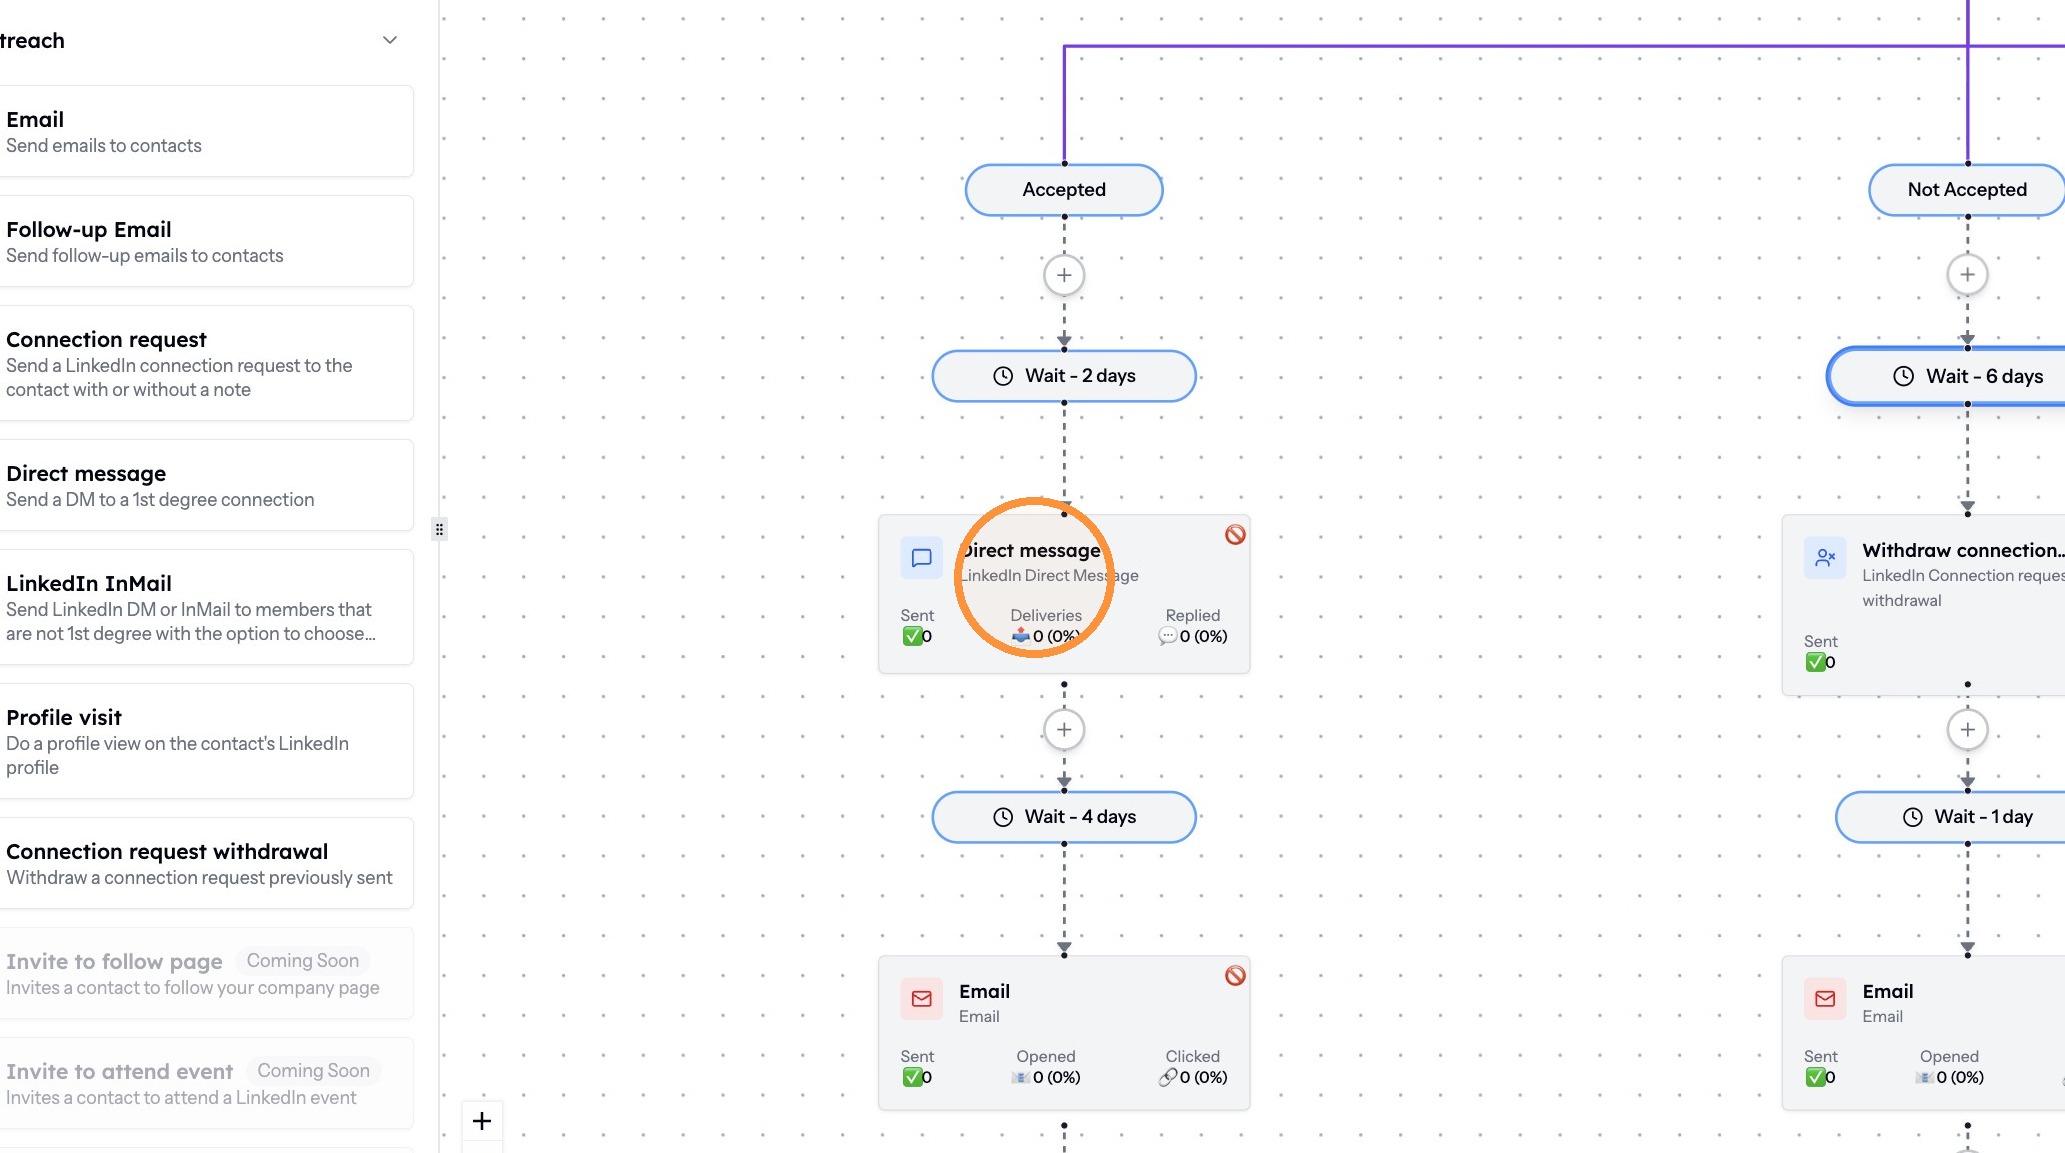
Keep building each branch with outreach steps, waits and conditions until the sequence is complete.
Building out the branches
Write content and set sending rules
-
Click any node to open the step editor and add your copy.
Opening the step editor -
For a LinkedIn step, enter your message in the Message body box. Preview Message shows how the rendered content appears to the recipient.
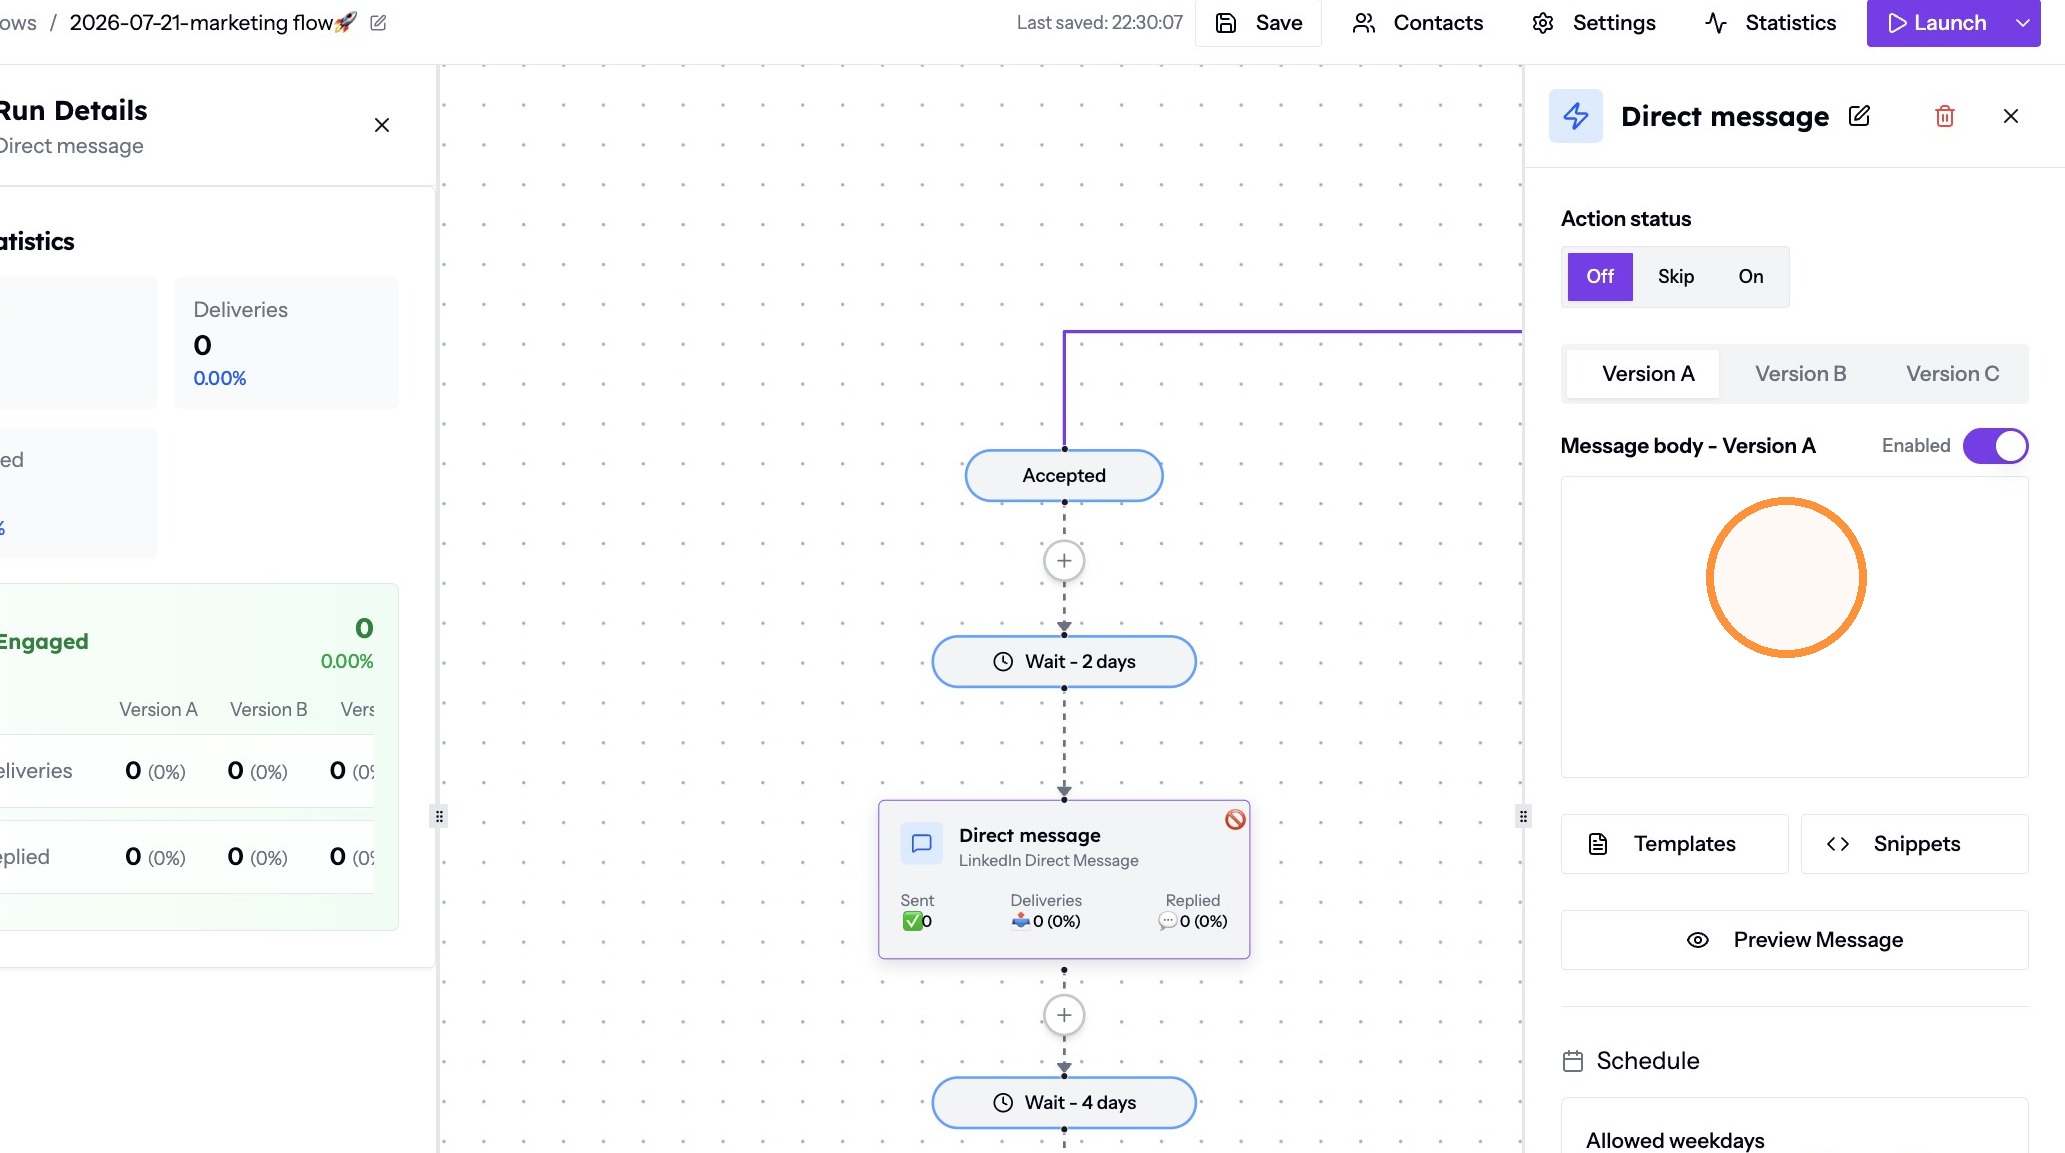
Writing the LinkedIn message -
Use the Schedule panel to define your active sending days, daily delivery windows, and randomized delays between individual prospect actions.
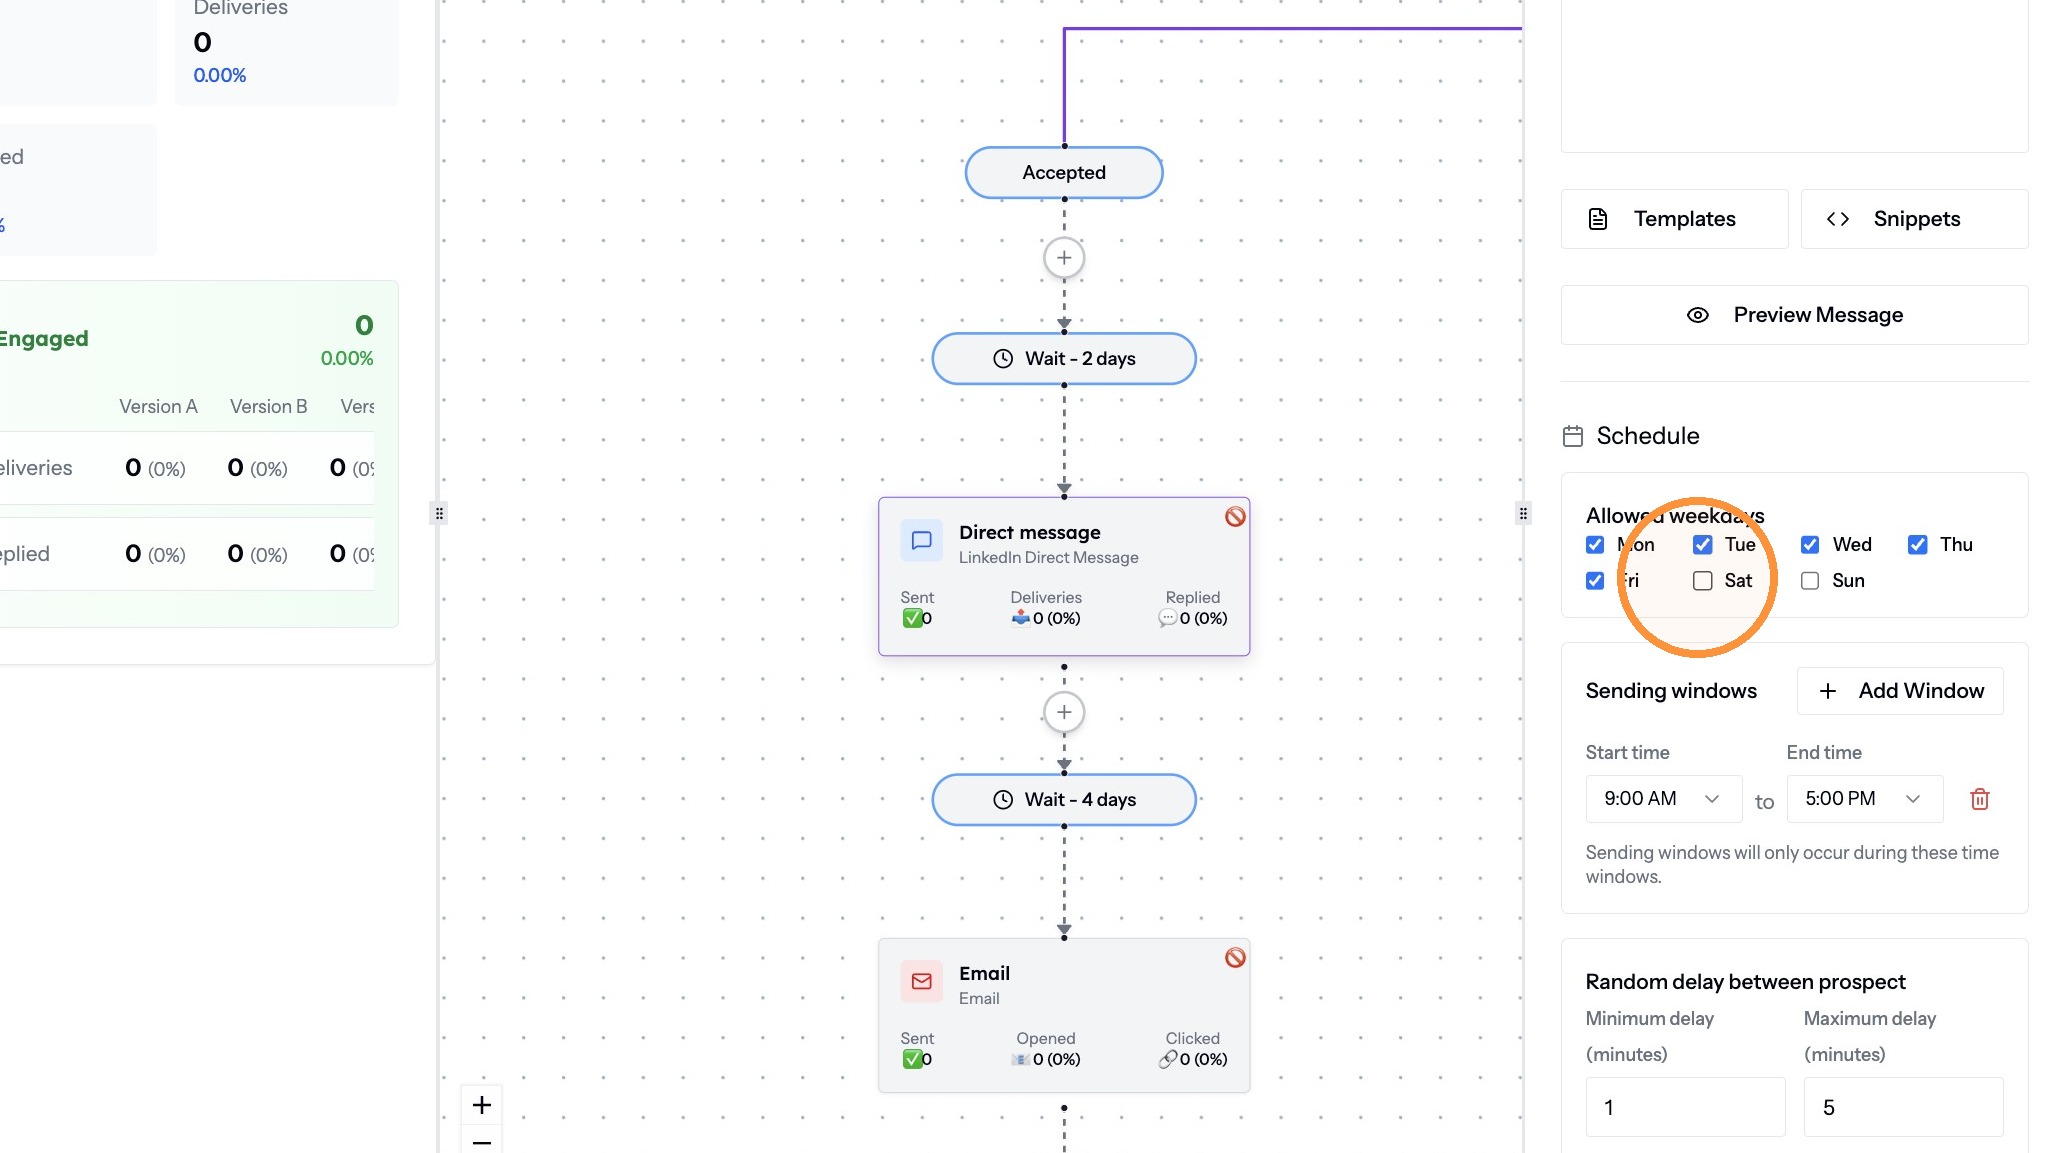
Setting the schedule -
For an email step, select the Email node to set the subject line, compose the body, and apply formatting. You can also enable tracking preferences such as Track email opens and Brand link tracking.
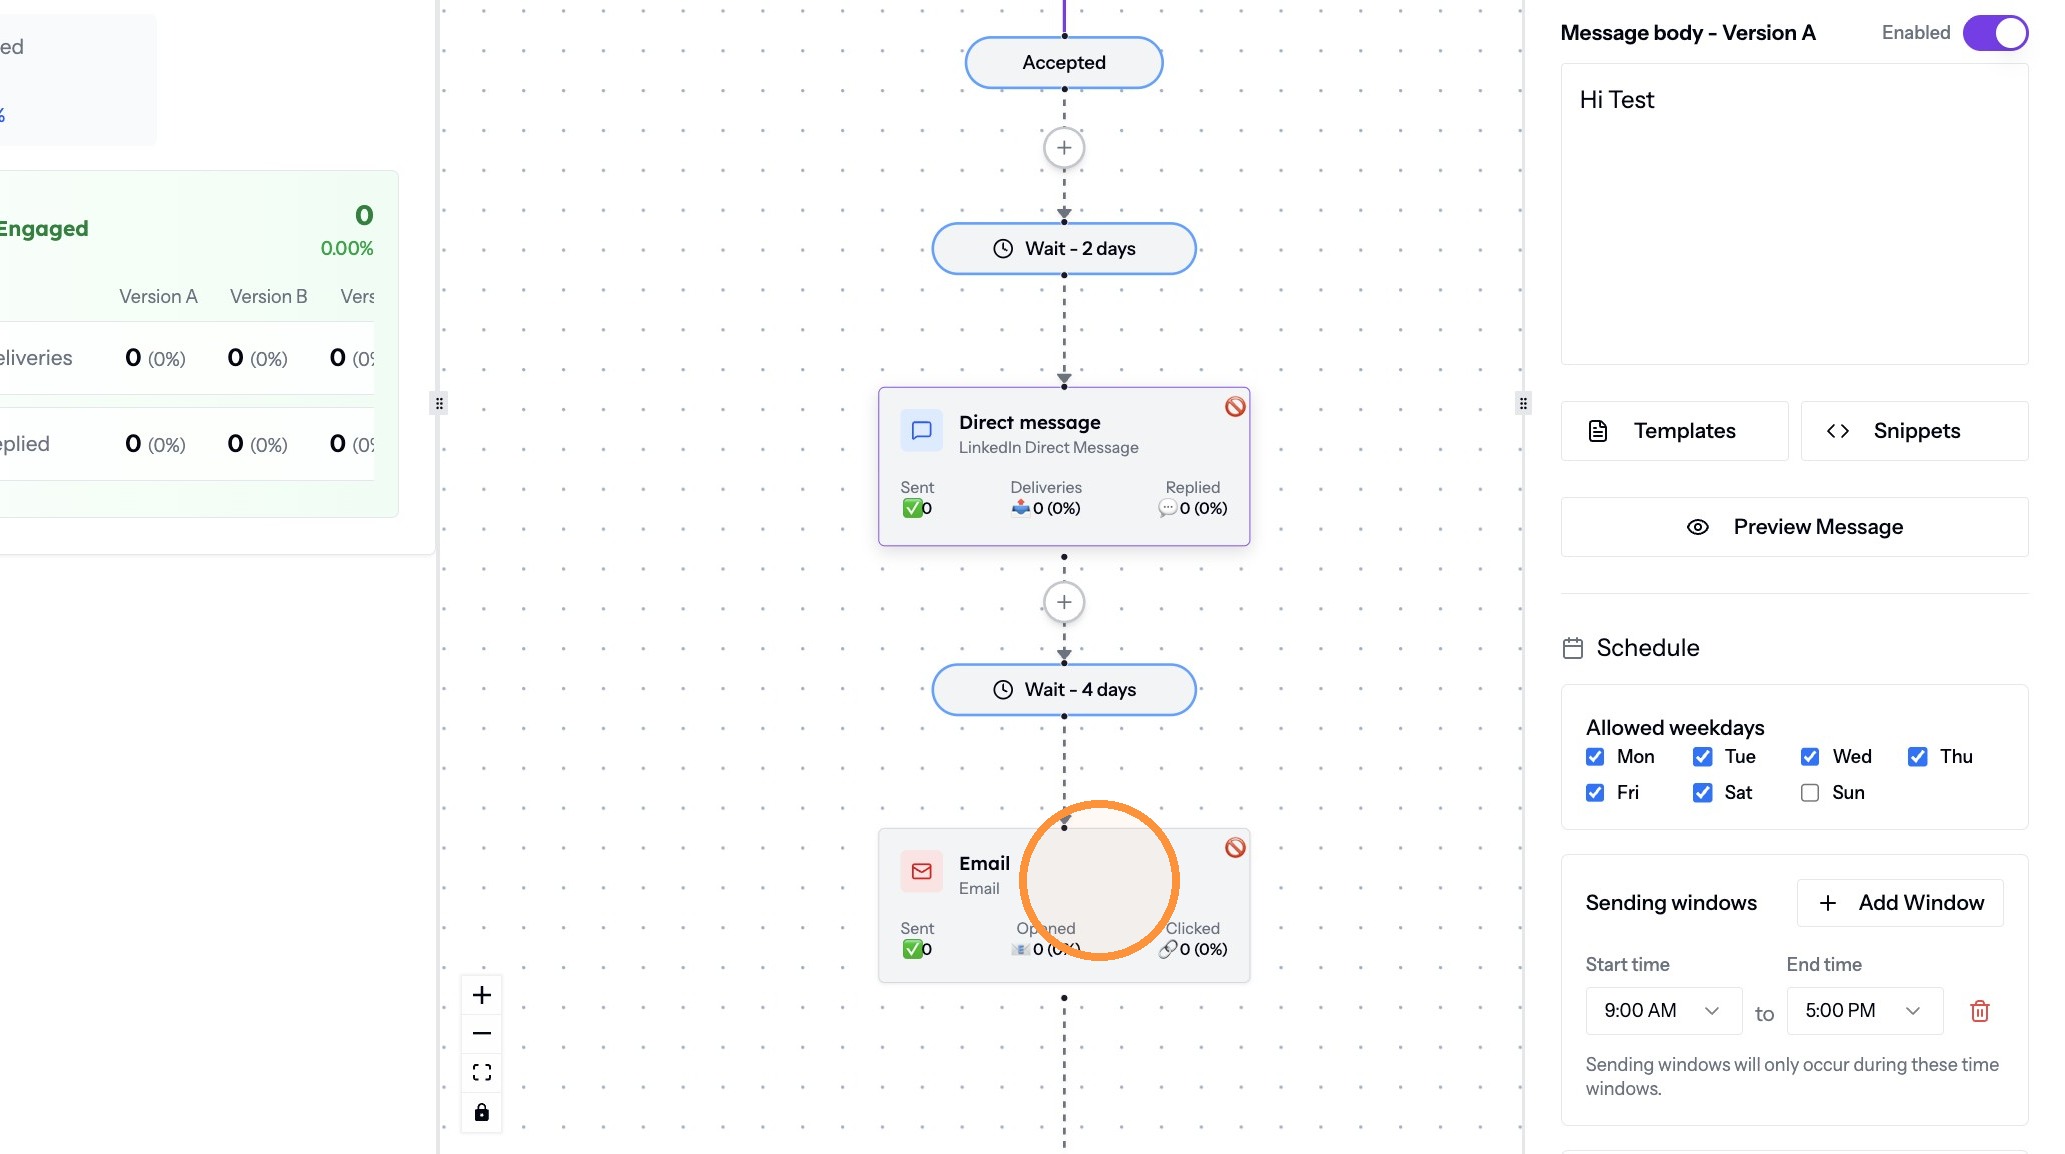
Writing the email step -
After configuring the content and rules, set the Action status to On to activate the node.
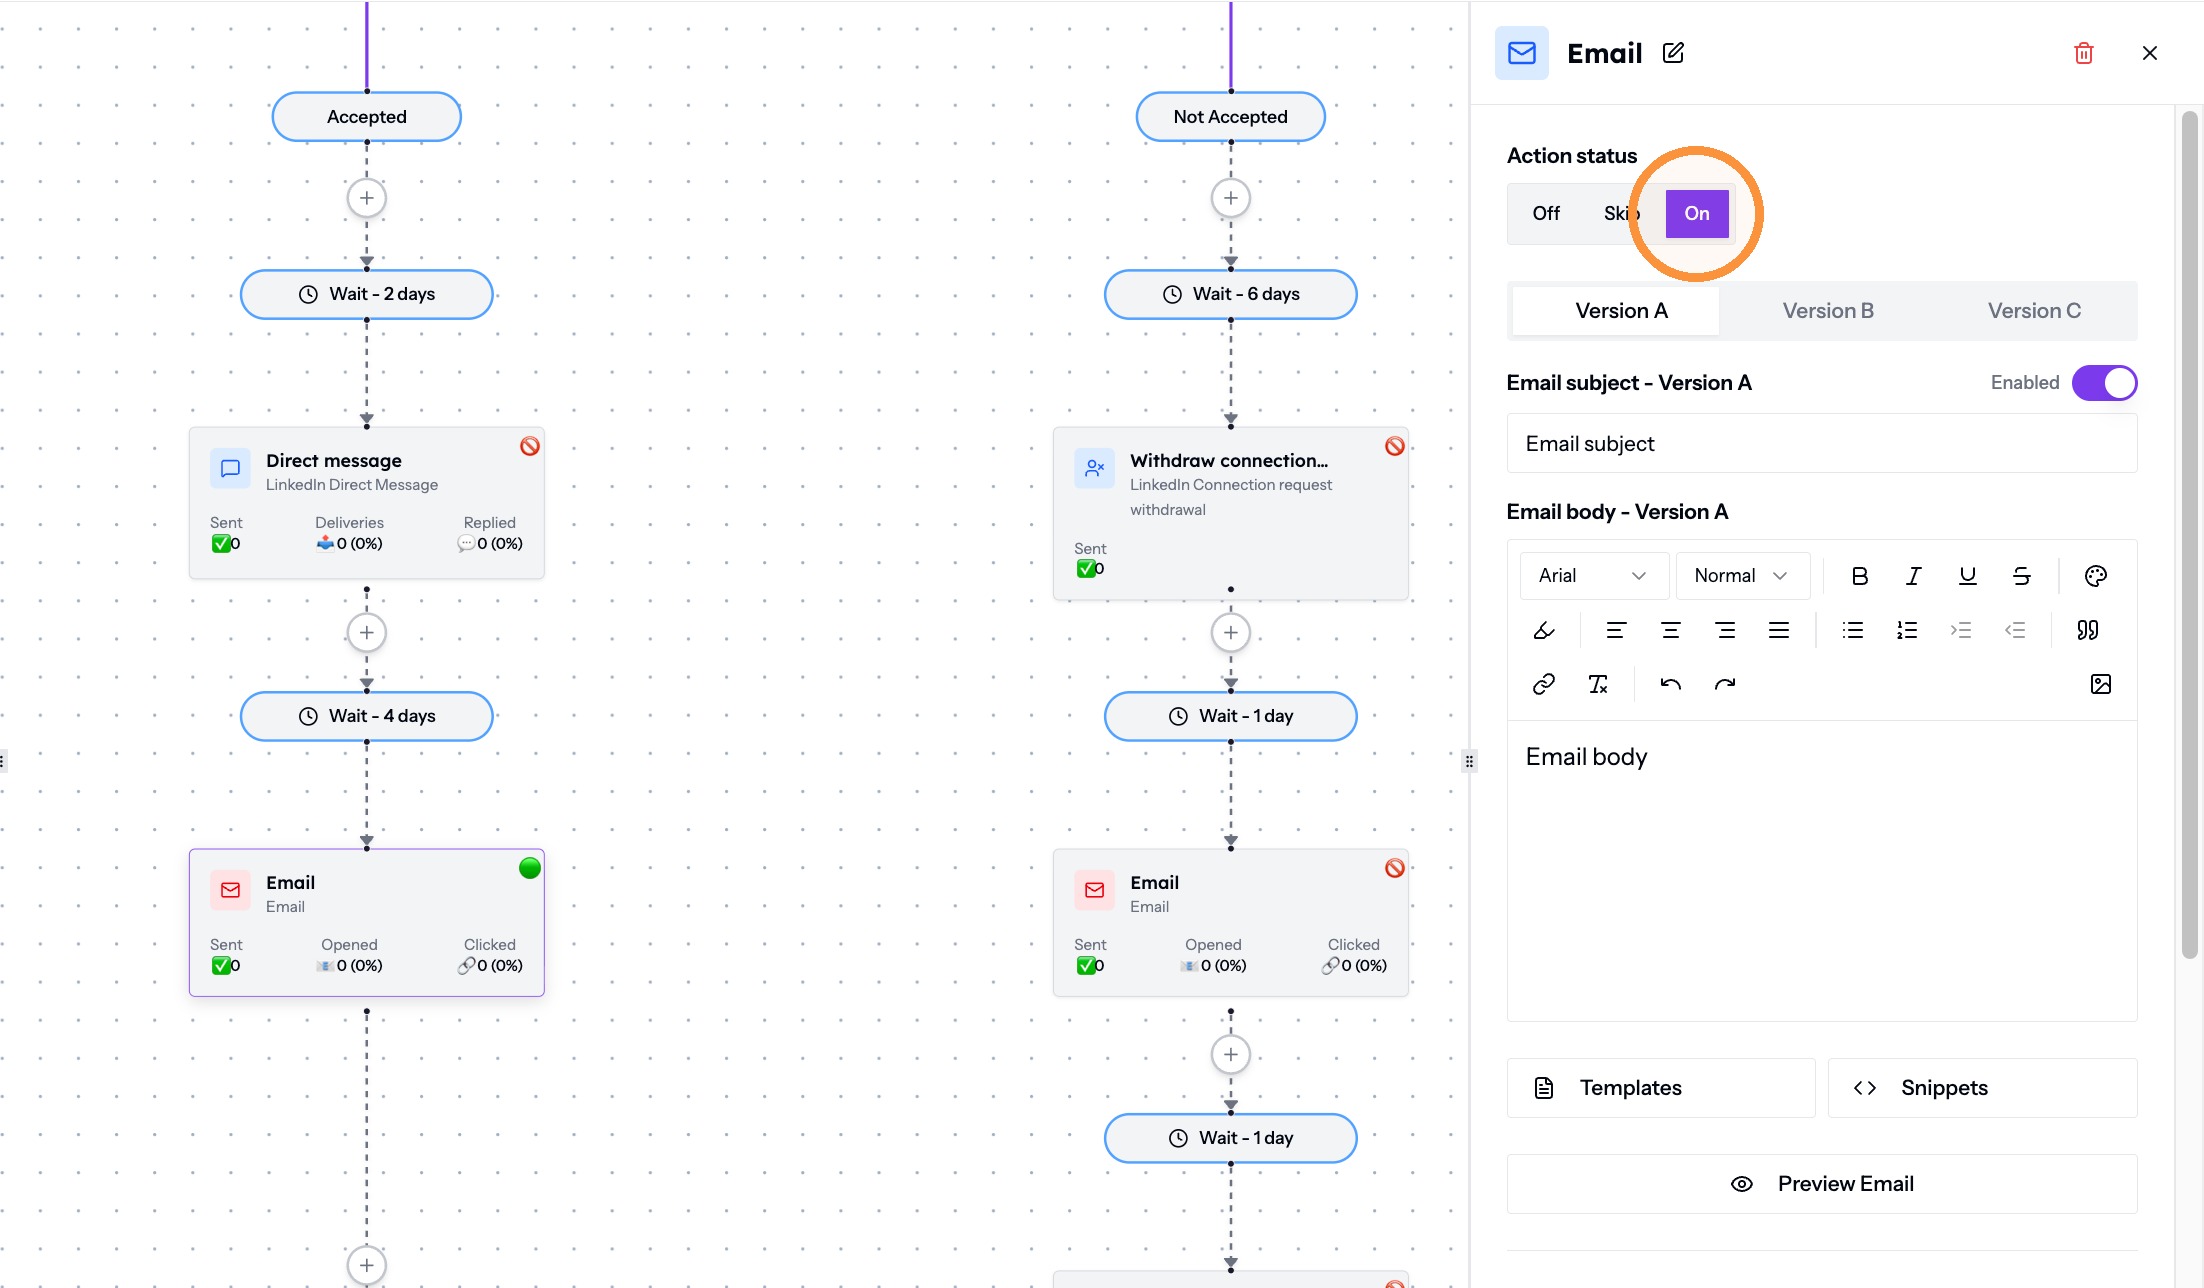
Activating the node
Set sending limits and launch
-
Click Settings in the top-right menu to open the Flow Settings.
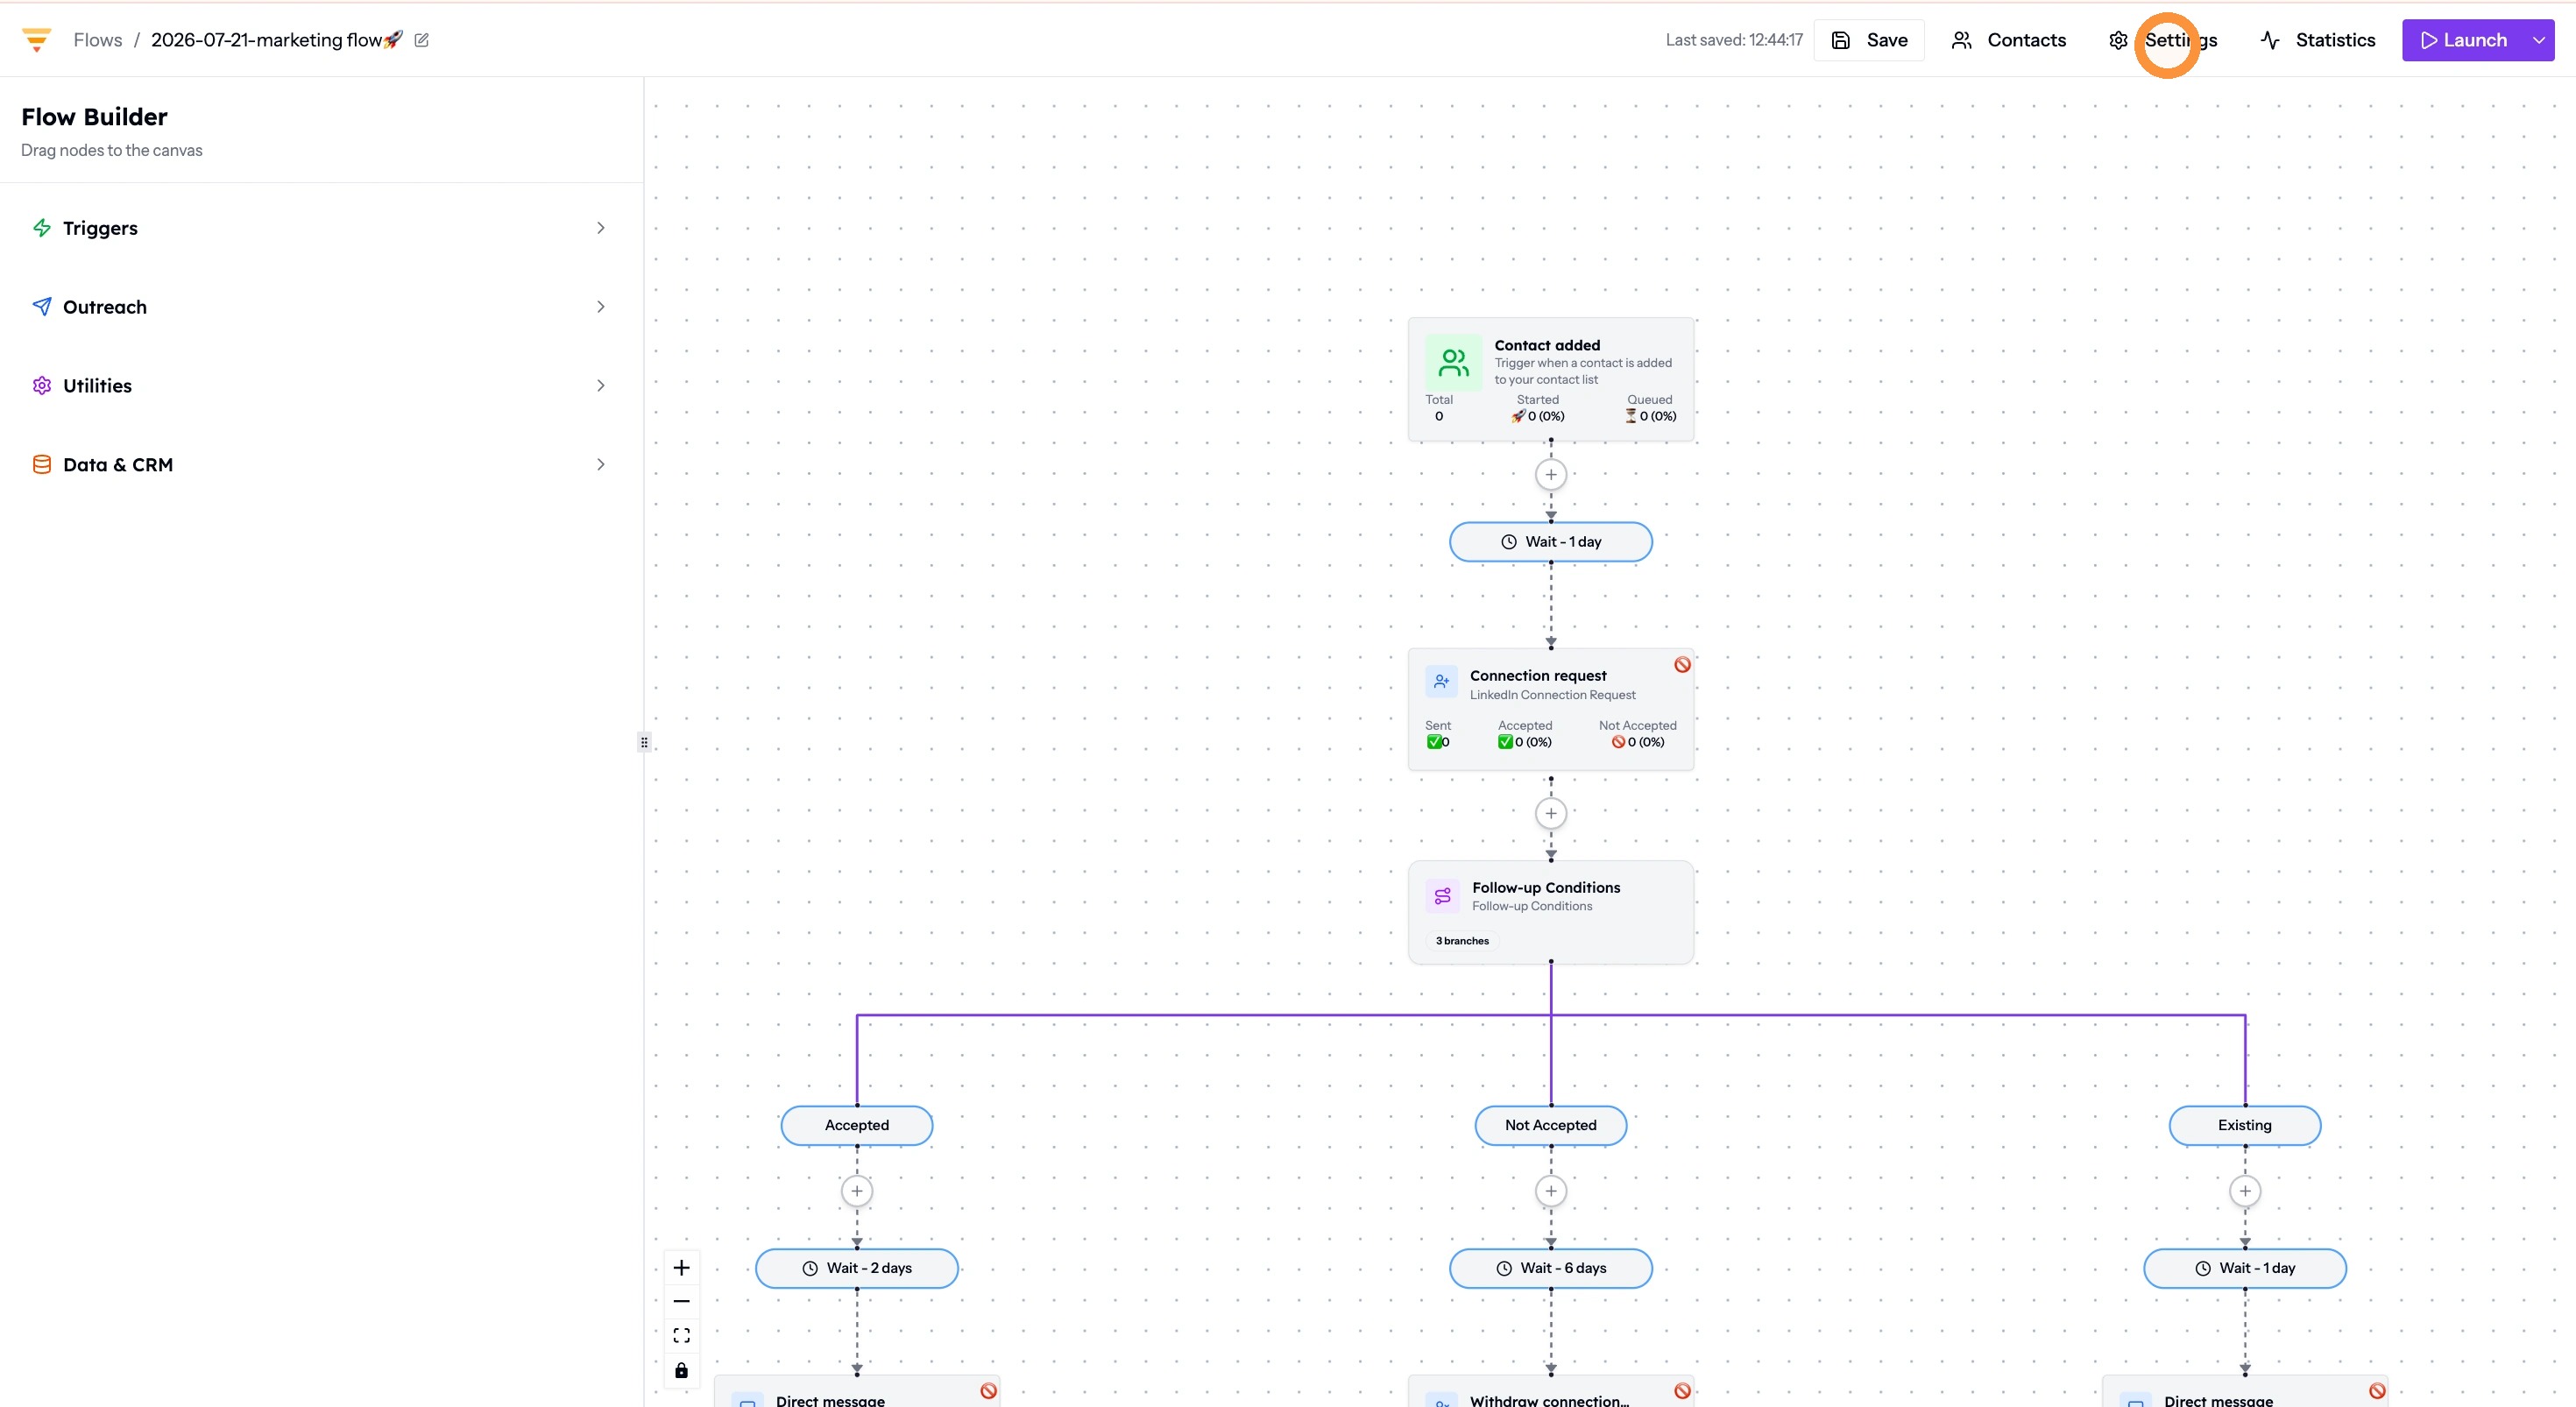
Opening Flow Settings -
Adjust the sliders to set your Drip Rate and the maximum daily sending limits per channel, such as emails, profile views and connection requests. Click Save Settings to apply.
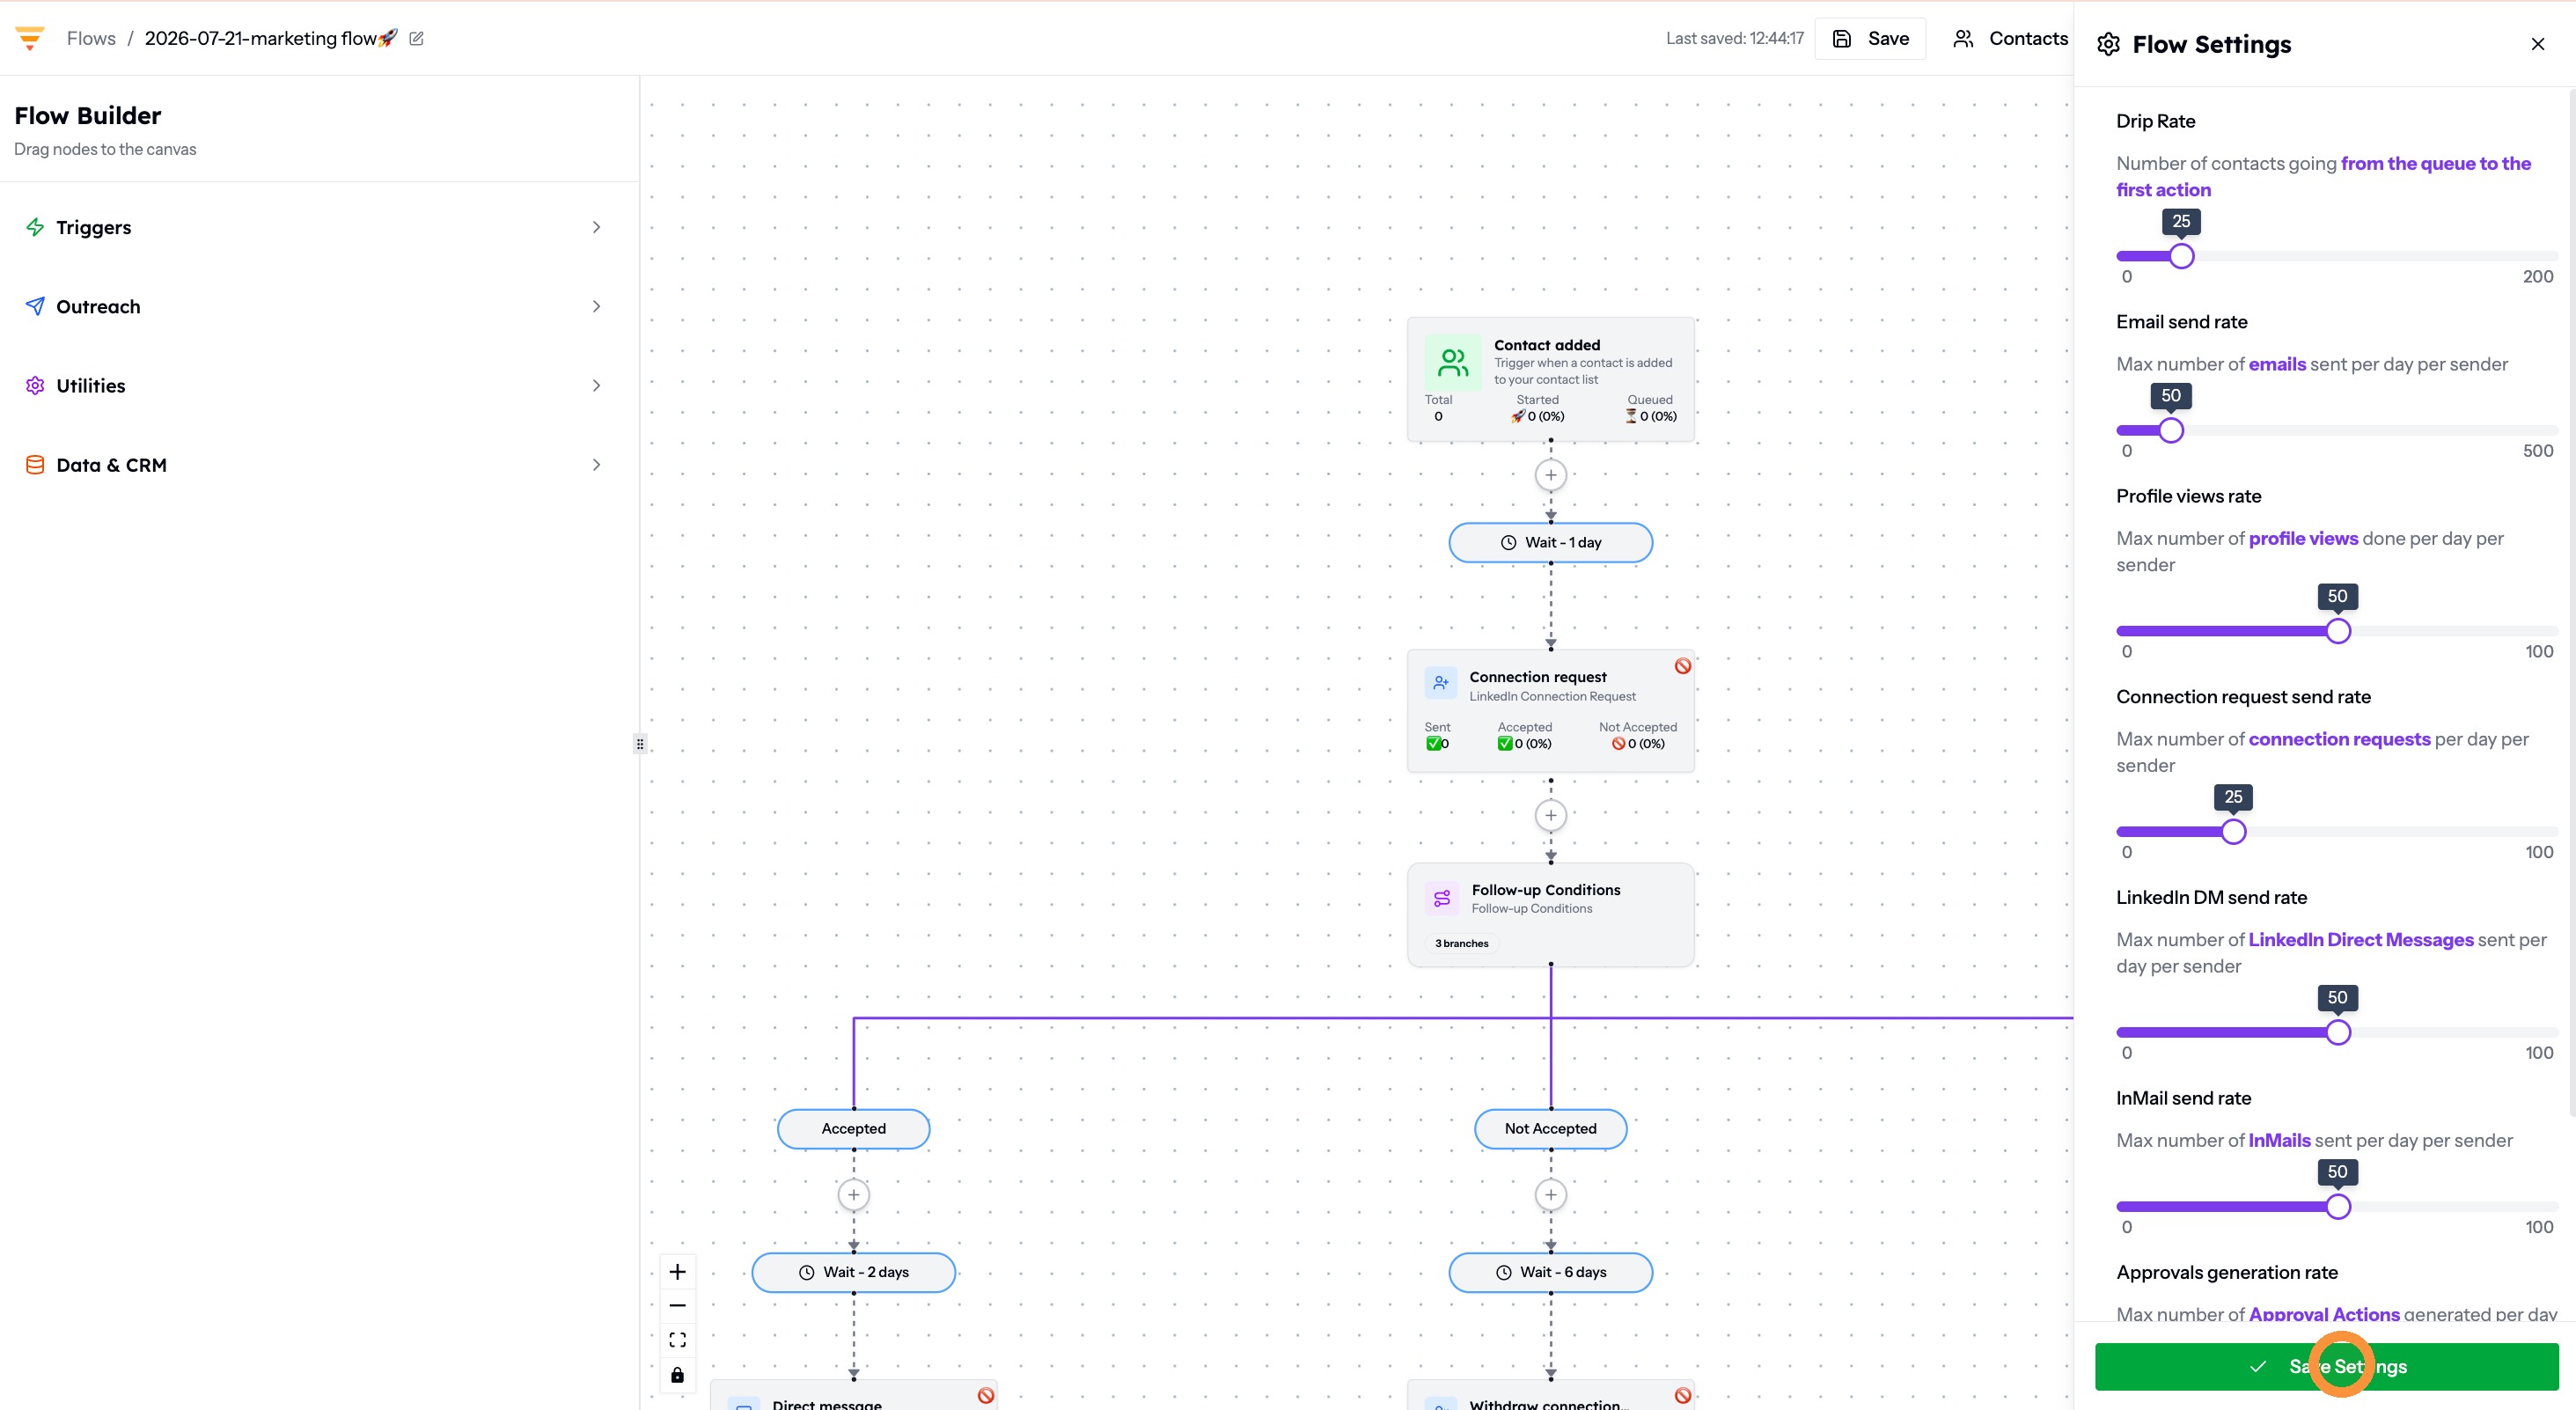
Setting your limits -
Once all nodes, content and branch conditions are configured, click Launch to activate the flow. Then go to Contacts, filter by list or tag, and add contacts to the flow.
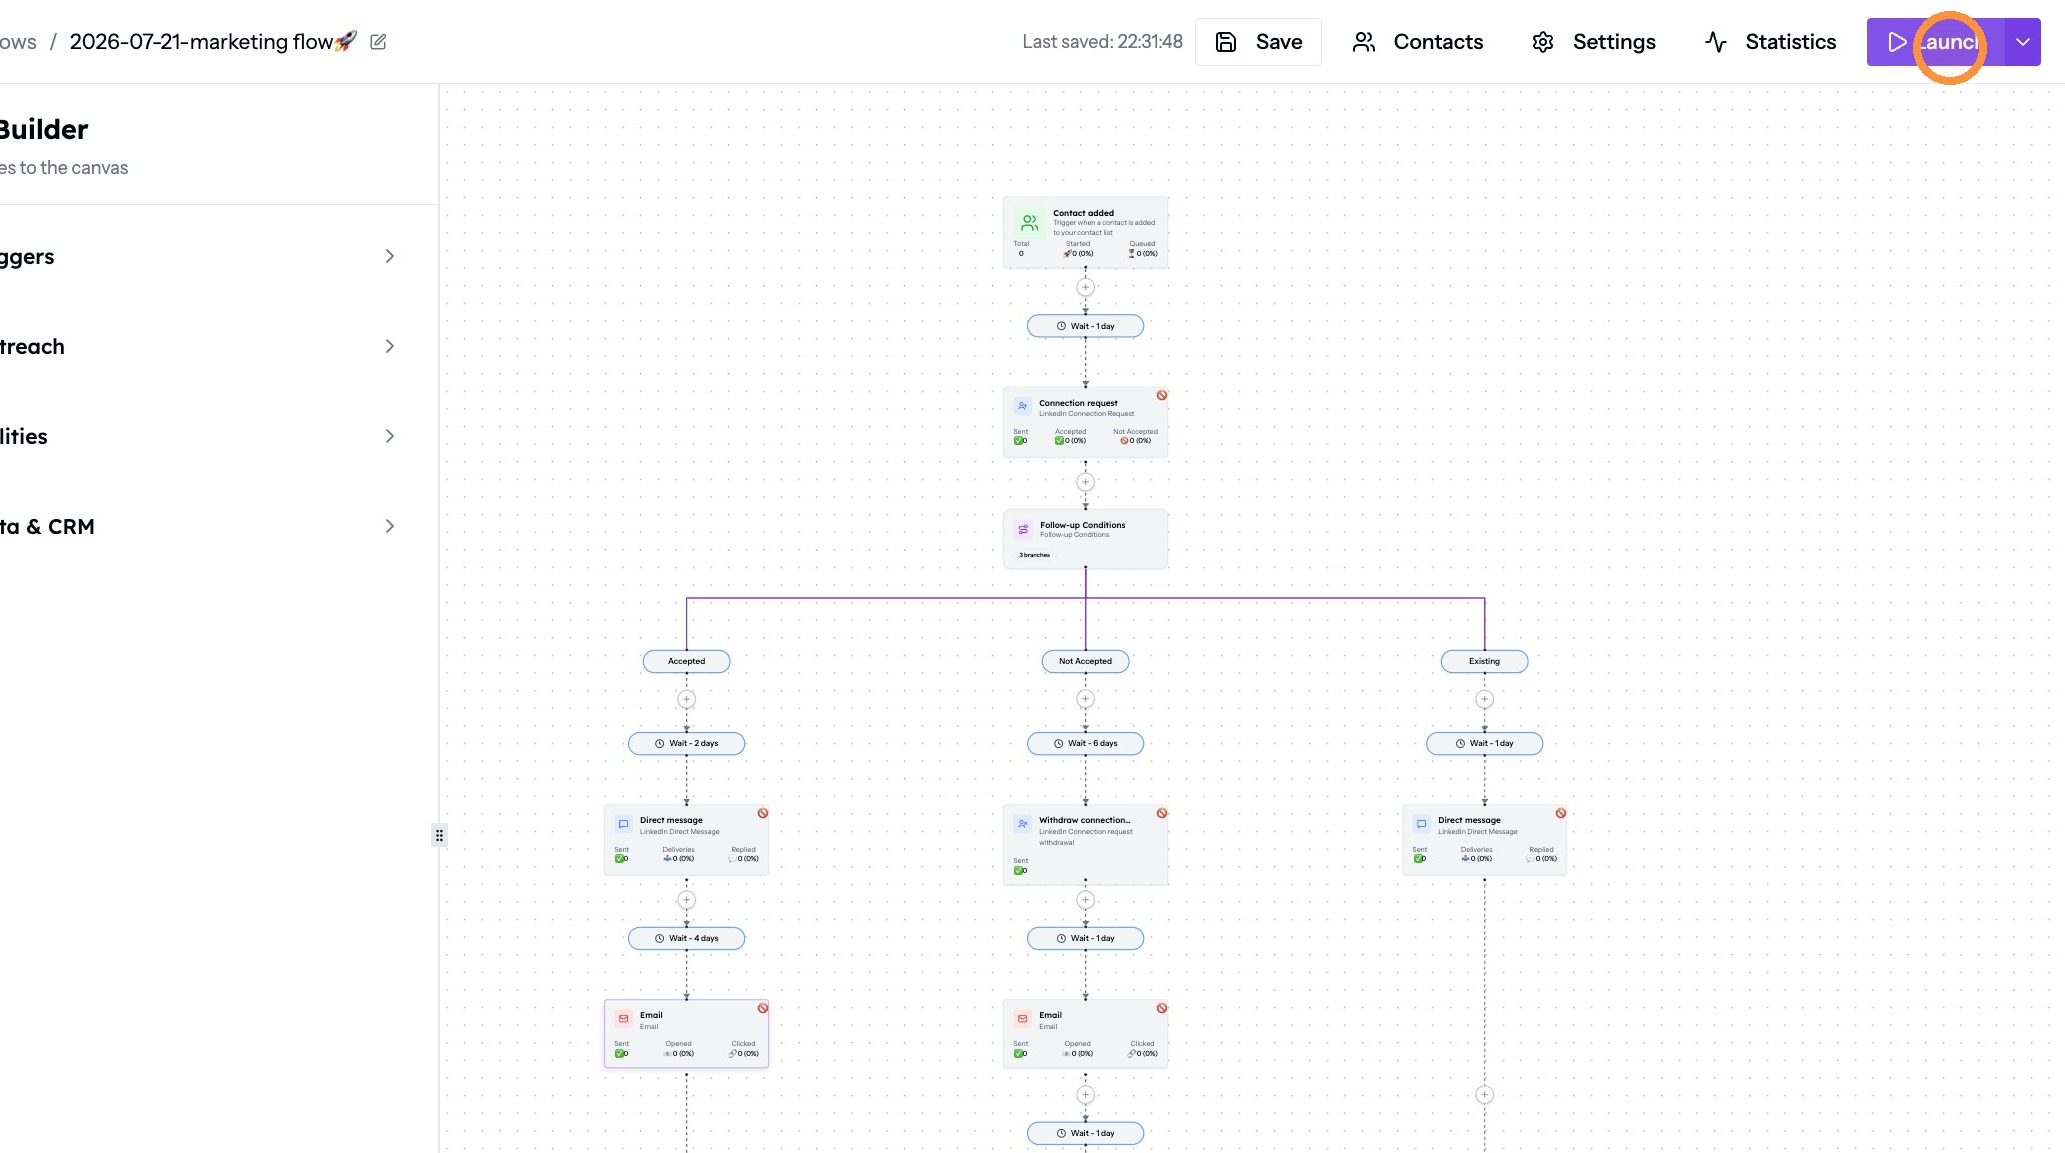
Launching
Your flow is live. Contacts you add now move through the sequence branch by branch, within the schedule and sending limits you set. You have completed the onboarding series.
Common mistakes
- Contacts stall or move down the wrong path. A contact without rules defining how it moves stays stuck. Click the conditional branch inside the flow builder and define explicit rules for each track, for example accepted and not accepted.
- Contacts without emails end up in an email-focused flow. Filter them out before importing, or push them into a LinkedIn-only sequence.
Interactive walkthrough
Click through every step at your own pace.
The walkthrough loads from Scribe only after you click, so nothing third party runs on the page until then.
Common questions
How many LinkedIn connection requests can flows send per day?
25 to 30 per day, combined across all your active flows.
Why are contacts stuck in my flow?
A contact without rules defining how it moves stays where it is. Click the conditional branch in the flow builder and set explicit rules for each track, for example accepted and not accepted.
Can I add contacts without an email address to a flow with email steps?
Filter them out before importing, or put them into a LinkedIn-only sequence. A contact without an email address cannot move through an email step.
Related articles
- Set up your personal and company accountComplete your personal profile and your company profile in hubsell. It takes about two minutes and gets both ready before you connect a mailbox.
- Connect your mailbox and LinkedInConnect the mailbox and LinkedIn account hubsell sends from, so it can send email and run LinkedIn actions for you.
- Source data into hubsellGet contacts into a hubsell list from a LinkedIn or Sales Navigator search, or from a CSV file, then tag and enrich them ready for outreach.
- Connect your CRM accountConnect HubSpot, Salesforce or Pipedrive to hubsell so you can push contacts across when you are ready.